The Last Scarf of Winter . . .

I’m sure you’ve heard of the “Last Rose of Summer” . . .

so I thought I’d twist the phrase here to introduce:

the “Last Scarf of Winter”! 😉

denimlong

Enough with the cold and snow! I’m dreaming of a delightful spring and I’d like to concentrate on making some fun spring-time projects pretty soon – so this will probably be my last “wintry” item for a while.

denimcl

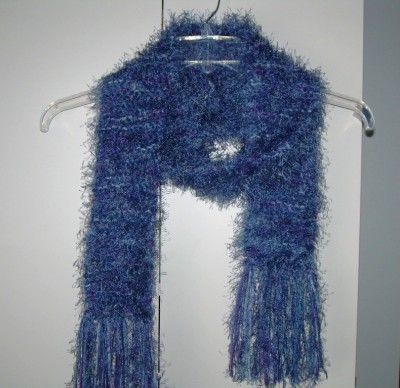
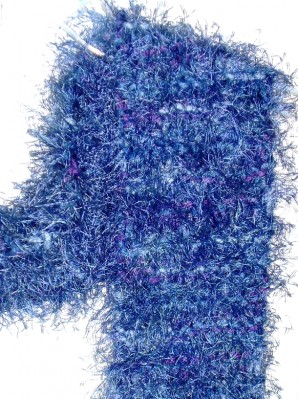
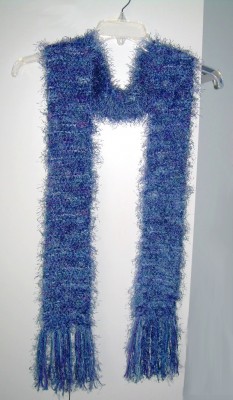
I really do like how it turned out, though. This was another one of my TV Projects. The yarn is a fluffy angora in denim blue, to which I added a short eyelash in coordinating shades of blue and a delicious lilac purple.

denimclr

I made it extra long, so it can easily wrap around a few times, or even be used as a hood/scarf combo!

It was 58 degrees here today – definitely a sign that spring is near – so I might just carefully pack this scarf away without wearing it.

Next year it will either be a nice new addition to my wardrobe, or possibly a pretty gift for someone else! 🙂

crystal-1b3-copy-flatfullwidth

TV Time

tvblueBecause I’m a baby boomer, I literally grew up watching TV! What laptops, ipods, and cell phones are to today’s kids, is what televison was to my generation. We were “glued to it”, as my mother would say. I don’t know about you, but these days it seems harder to find shows that I’d want to be glued to! Oh, I know there definititely are a few, but they’re the exception and the endless commercials have taken some of the fun out of an evening in front of the TV

tv-remote

My solution has been to multi-task! Now I don’t mean that I dust the furniture or balance the checkbook while watching television, but I do like to have a creative project to work on – especially during all those commercials!!! I try to choose a fairly uncomplicated item so that I can relax and actually watch the show – without having to continually look away to check a difficult pattern. It’s really fun to have a little “something” to show for the time I’ve spent watching TV, too!

yarn-needlesSometimes I knit or crochet. I’ve also done cross-stitch, paper crafts, embroidery, and hand-sewing. The projects change, but that wonderful feeling of accomplishment is always the same!

I have a few things that I’ve recently finished, and I thought you might like to see one of them today.

May I present Exhibit A? 😉

multiscarf1

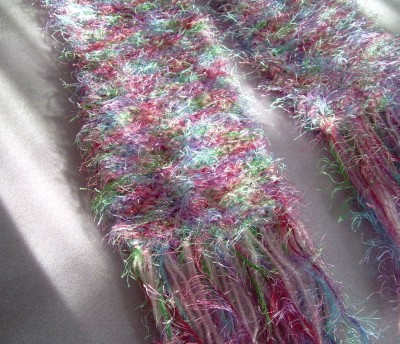
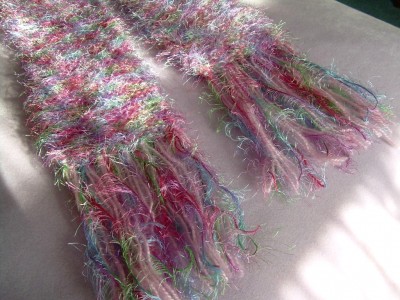
This is a scarf that I worked on for an hour or two, every so often, over a few weeks.

multiscarf4

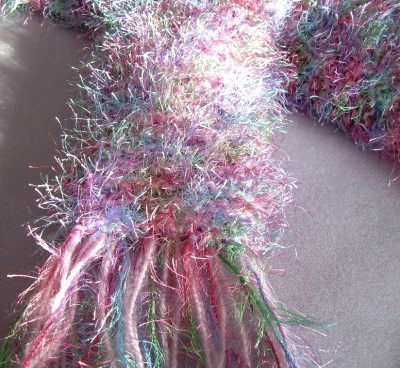
It looks like confetti – in shades of pink, rose, lavender, violet, green, aqua and cranberry! I used a solid pink angora yarn along with a multi-color short eyelash.

multiscarf2

The fluffy angora yarn gives the scarf a richer, more unique look/feel than the typical eyelash style.

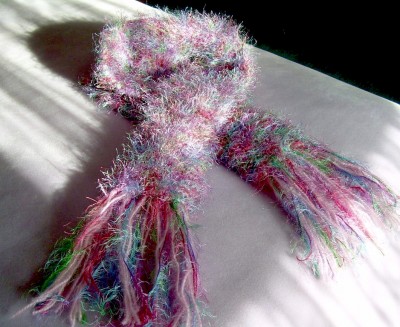
multiscarfovall

It’s not extra-long but more of a medium length that drapes nicely to fill in the v-neckline of my winter coat.

What are you working on lately? Send in a photo! I’d love to post it here on the blog! 🙂

crystal-1b3-copy-flatfullwidth

Bears Can Knit, Too!

On your gift-giving list, is there a bear collector, or a knitter, or maybe someone who just loves tiny treasures?

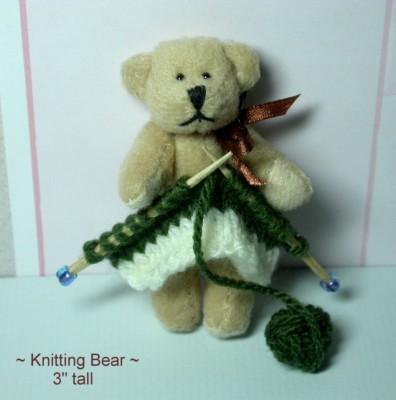
Well, this mini teddy bear might be perfect for all three! Whether he decorates a birthday package or is a “gift” all by himself, he’s pretty hard to resist!

bear1

You can finish this project quick as a wink by using a 3″
pre-made bear. The knitting is done on full size knitting needles (size 1) and then transferred to tiny “bear-sized” knitting needles – made from toothpicks!

“Knitting Bear” Tutorial:

Supplies needed:

3” Bear – from your local craft supply store (I found mine at Michael’s)
A scrap of 1/8” ribbon for a bow at teddy’s neck
Assorted remnants of sport weight yarns
Size 1 Knitting Needles
2 round wooden toothpicks
2 size-5/0 beads (or any bead that fits the toothpick)
Tacky Glue

Directions:

Tie a bow at Teddy’s neck and then set him aside.

Using size 1 knitting needles, cast on 15 stitches in your choice of color.

Knit in stockinette stitch for 3 rows, then change colors for 3 more rows. If the knitted piece seems long enough, (depending on your yarn and tension) cut the yarn – leaving a one-yard piece, which will be rolled into a little ball of yarn.

Carefully put half of the stitches on one toothpick, and then the rest of the stitches on the other – moving them slowly to avoid losing stitches in the transfer!

Once you have transferred the stitches, the toothpicks may need a little trimming if they seem too long or are too fat for the beads to slip onto easily. I trimmed mine a bit with the tip of my wire cutters. The wood is soft and trims easily.

Next, glue the beads onto the toothpick ends.
Bring the hanging piece of yarn over the needles to the front, and roll it into a ball – starting at the end of the yarn. Use a little glue here and there to hold the round shape.

Any loose strands on the back of the knitting can either be woven in, or snipped close to the work and secured with a dab of glue.

Finally, place the piece of knitting in the bear’s paws and glue it to his chest area with a generous little dollop of tacky glue. Let dry.

Finished!!! Aww . . . isn’t he sweet?

crystal-1b3-copy-flatfullwidth

January Cleaning and Crafts

I always have the urge to get organized in January. I think it’s the combination of the cold weather and the fact that I’m already on a roll as I put away the Christmas decorations, and try to find a new home for any gifts we’ve received.

Yesterday, as I was looking for a spot to store a new game, I came across an old photo album with pictures from my early years as a crafter. It made me smile as I calculated that the photos are (gulp!) 26 years old!

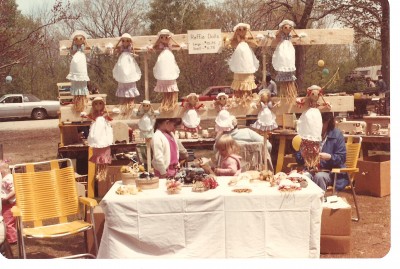
Craft fairs were in their infancy then, and this is a picture of my very first one.

click to enlarge

click to enlarge

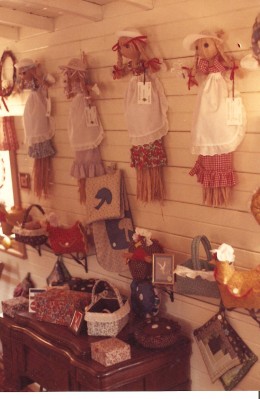
The photo is fading a bit, but if you click on it to make it larger, you can get an idea of the display. My daughters are “helping”, Dear Husband is the photographer, and I seem to be working on something even as the event begins. The fair was held on a sunny autumn day on the grounds of a school in New Hampshire. The raffia dolls that you see were very “in” at the time – hard to believe now! It was a particularly exciting day not only because it was my first fair, but also because I was approached by a lady who wanted to display my items in her gift shop! I was so delighted – I couldn’t believe it.

click to enlarge

click to enlarge

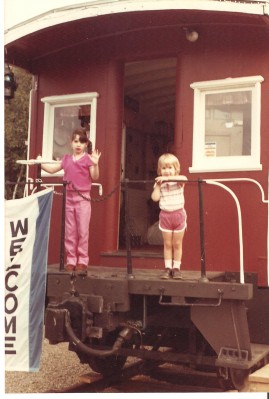
It turned out that the shop was a restored “caboose” which was just adorable. We took a drive to see it after hearing that my crafts were on display. The kids look thrilled, don’t they? 😉 Well, it was a long drive.

click to enlarge

click to enlarge

Since that time, I’ve learned many new crafts and had lots more adventures at craft fairs and gift shops, but it was during those earliest years (see Take this job), that I discovered something pretty valuable.

I learned that “making something” is like giving your spirit a vitamin! 🙂

crystal-1b3-copy-flatfullwidth

Valentine Hearts of Lace

It’s true that Christmas was only a few days ago but . . .

Valentine’s Day will be upon us in the blink of an eye!

So, in honor of the occasion, I thought you might like another quick and easy-to-make ornament!

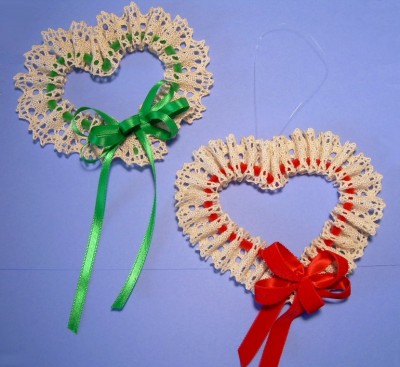
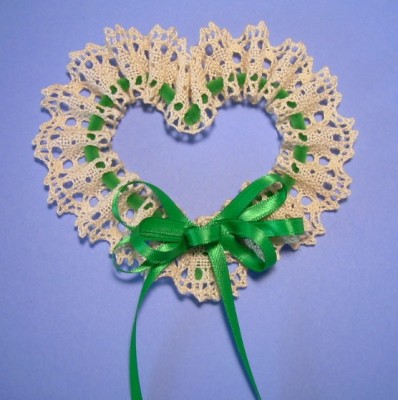
These airy little hearts only look as if they are hand crocheted! Actually, they’re a cinch to make with cotton cluny lace and chenille stems. So pretty hanging in a window, but they’re also perfect to tie on a gift!

laceheartvalentine1

Use any color scheme you like.

For Valentine’s Day, I love the traditional red or pink colors, but this green one makes a great Victorian-style Christmas ornament! (Burgundy or Plum would be beautiful, as well!)

lace-hearta

The secret is the cotton lace that you can find online at Home-Sew – a great source for lace, trims, ribbon, and other goodies. (The lace may also be available at a fabric store near you.)

Materials Needed:

*One 12” chenille stem (pipe cleaner)
*22” piece of 1-1/4 inch-wide cotton cluny lace
*1 yd. of 1/4″-wide satin ribbon.
*Fishing line or embroidery floss for hanger
*Tacky glue

Instructions:

NOTE: Read through all directions before beginning.

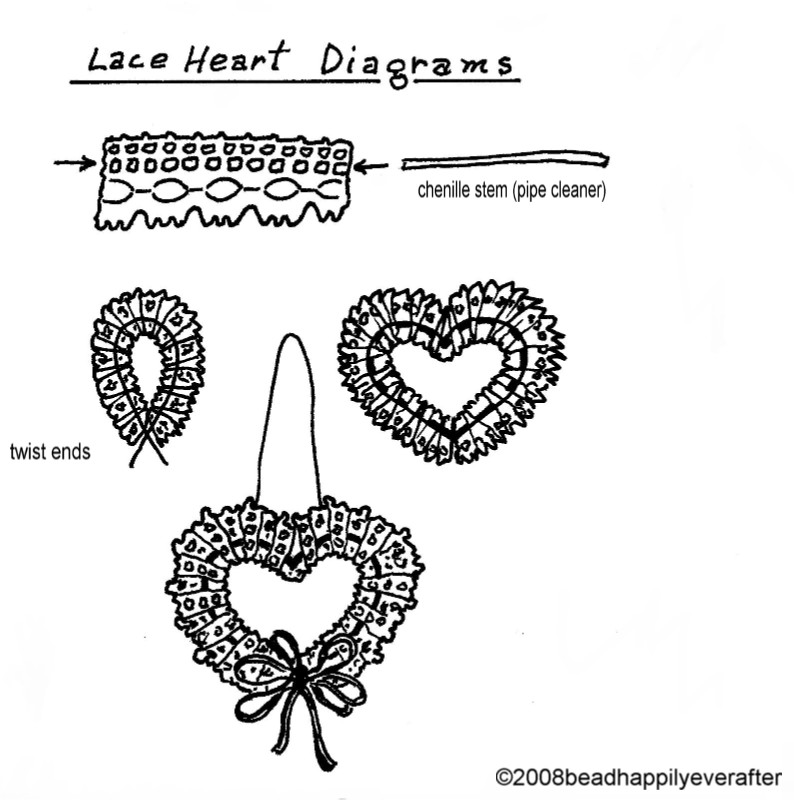
1. Thread the chenille stem through every other hole in the 2nd row of holes on the lace – see diagram.
2. Adjust the gathers evenly and bring the ends of the chenille stem together and twist 2-3 times.
3. Cut off excess chenille stem ends. The point of the twisted ends forms the point of the heart.
4. Shape the stem into a heart and adjust the gathers again if needed.
5. Make a loopy bow and glue to the bottom of the heart.
6. Attach fishing line hanger.

lace-heart2

When finished, the heart measures 5-1/2″ across.

If desired, you can make smaller hearts by using half of a chenille stem and an 11″ piece of 7/8″-wide lace.