Sparkling Snowflakes Wreath

Isn’t it funny how one thing often leads to another when browsing the web?

I can be searching for something as mundane as “how to remove a juice stain” and before I know it I’m clicking on a dinner recipe, or reading some interesting article, or gleefully wading through a gallery of craft ideas!

Don’t ask me how I bumped into the little project I will feature in this post.

I can tell you one thing, for sure. I was not looking for it. 😉

curlyline

If you’ve shopped the aisles of any of the craft super-stores, you know that the supplies for paper crafts are endless. They call out to me – especially when they’re on sale – and I’ve accumulated a nice little collection. I don’t use them very often, and that’s a shame because working with paper can be incredibly soothing. (Must be the kid in me that feels that way!)

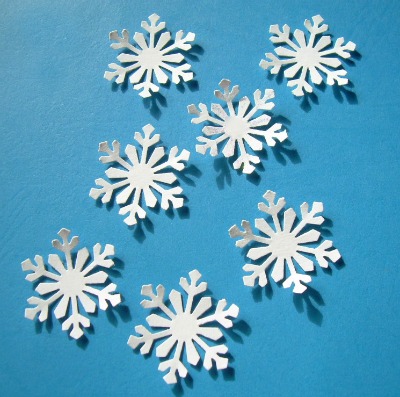
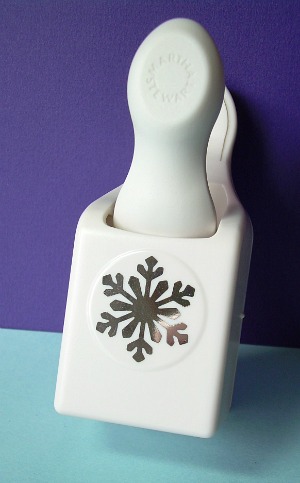
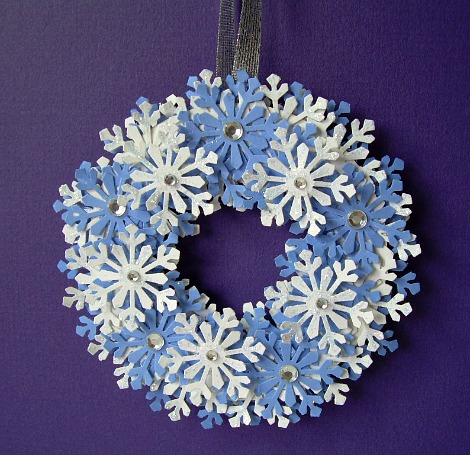
Today, I have an ornament to show you. It caught my eye because it’s made with something I already have – a Martha Stewart snowflake stamp!

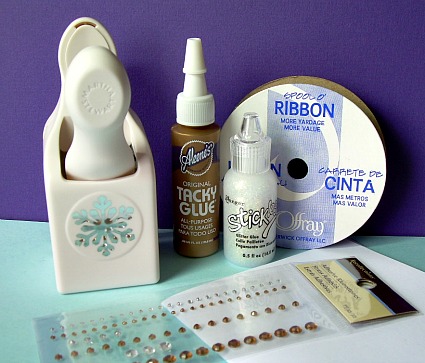
In fact I already had most of the supplies!

There was only one I had to buy . . .

I had never used Stickles before (Where have I been?), but are they ever fun! Who could resist glitter that rolls on easily and dries sparkly? I’m of the opinion that everything looks better with a hint of glitter. 😀

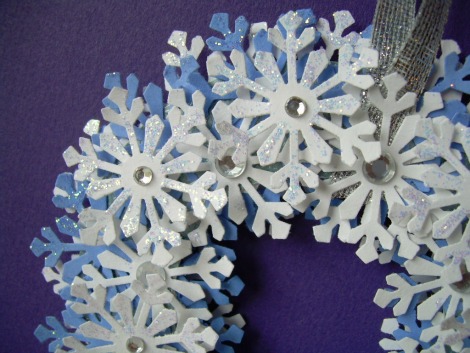
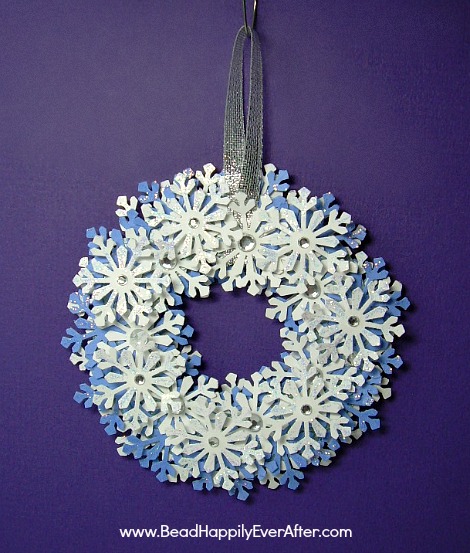
Isn’t this pretty? (This is the back side.) Nice for the Christmas tree and gorgeous for a package tie-on!

And here’s the front of the ornament. It has a very cool 3-d effect in person. I think this decoration is holiday-neutral enough to keep on display all winter long!!


If you, too, have an urge to play with paper, the directions can be found here.

Hugs,

crystal-1b3-copy-flatfullwidth

Friday Favorites – Ornaments

I‘m an ornament-lover from way back . . .

I enjoy collecting them, making them, even just looking at them.

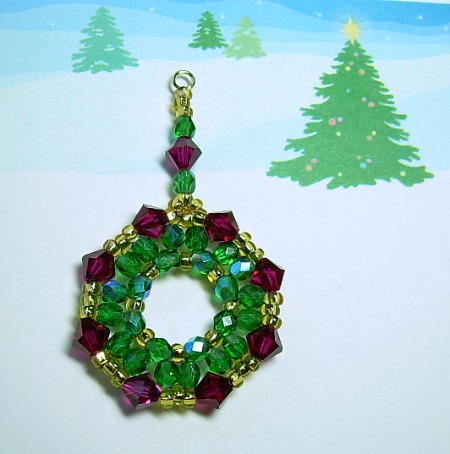
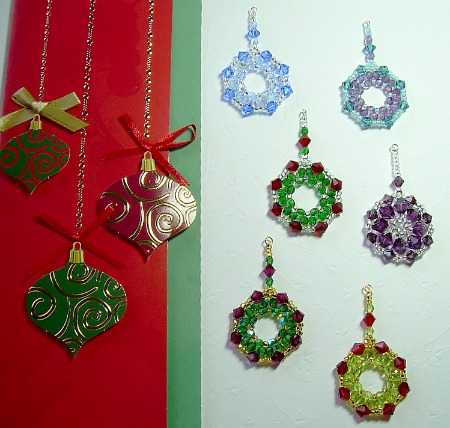
I love working with beads so, for me, these ornaments are like potato chips – it’s hard to eat make just one! 😉

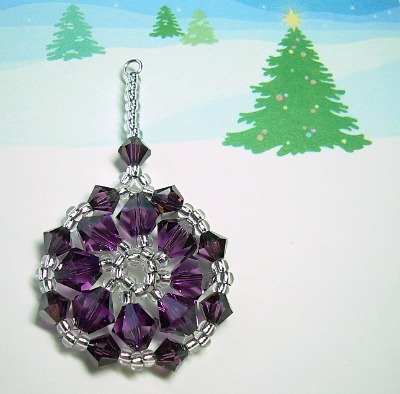
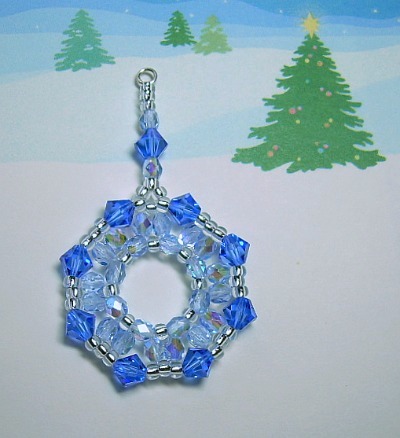
Here are the latest in the batch I made for this year.

I had plans to sew a couple of ornaments and to crochet a few, as well, but time ran out.

I’m going to ask Santa for an extra hour/per day for 2011.

Do you think he’ll deliver? 😉

Have a happy weekend, Kids!

Remember to take deep breaths in the midst of all the rushing around! (Hope I can take my own advice on this. lol)

Hugs!!!!

crystal-1b3-copy-flatfullwidth

Snowflakes for Suzy

It smelled like snow the other day. There was an icy chill in the air that froze my nostrils when I took a breath . . . even so, I couldn’t help but feel a twinge of exhilaration! We haven’t had any snow around here as of yet, but I am anxious to see that first “accumulating” snowfall of the season. I want it to cover the bare branches and blanket the dull landscape; to glisten when the sun shines and glow in the moonlight. I’m talking about a big ole “snow day”. Let it be on a weekend – so there’s no rush to shovel out. In that respect, I guess I’ve never grown up. 😉

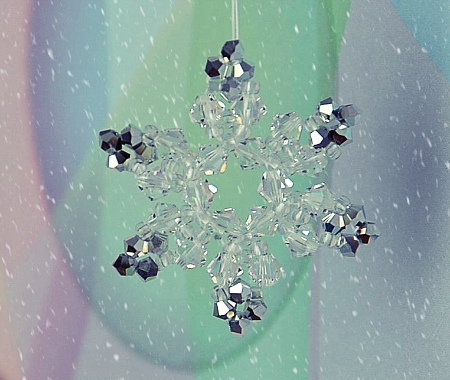
Want to see my crystal snowflake? I used Swarovski beads in both Clear Crystal and Silver. It’s smaller than it looks in the photo – about 1-3/8″ across – but talk about sparkle! It will be gorgeous on the Christmas tree.

While I was making it, a little tune came to mind. Does anyone remember the old Captain Kangaroo TV show? During the winter, he used to feature a musical animation called “Suzy SnowFlake”. The accompanying song is what I found myself humming while I worked on the snowflake.

I‘m including a link below to a video of that old animation. Let me warn you; it’s pretty primitive – but also very charming if you stick with it for the whole 2+ minutes. Can you imagine that kids of the 50’s (and even the 60’s) were enthralled with something so low-tech!?!?! 🙂

Suzy Snowflake

Hugs,

crystal-1b3-copy-flatfullwidth

12 Ornaments of Christmas – Part 5

toys2

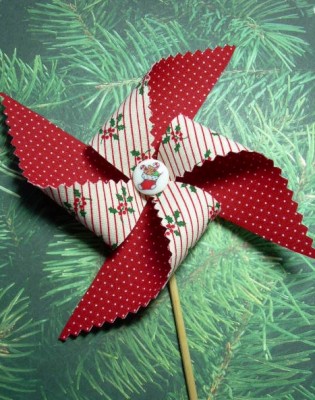
For Part 5 in my series of quick and easy ornaments, I have a little fabric pinwheel for you. This is a great way to use up any remnants of Christmas fabric in your stash. But even if you have to buy the material, it won’t cost very much because so little is needed. 🙂

Christmas Pinwheel

pinwheel2

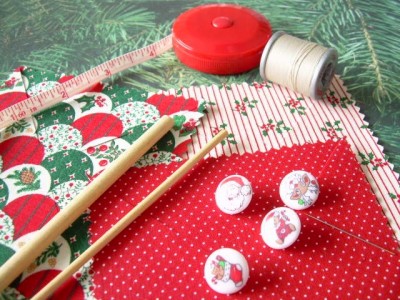
Supplies:

Fabric Remnants – Two Coordinating Christmas Prints (a 9″ by 9″ piece of each print will be easiest to work with and will make 4 ornaments.)

Fusible webbing (a piece that measures just under 9″ square)

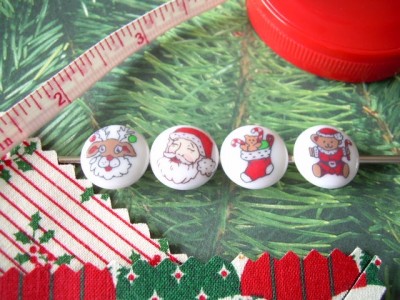
Christmas buttons or decorative buttons – 5/8″ in diameter

Wooden dowel – about the thickness of a lollipop stick – available at most craft stores

Thread, needle, pinking shears, and regular scissors

Gold Cord or fishing line for hanger

Gather your supplies . . .
pinwheelsupplies

I found some cute Christmas buttons!
pinwheelbuttons

Directions:

Cut a square of fusible webbing (a little less than 9″ by 9″) and sandwich it between your two Christmas prints. Both prints should be wrong sides together with the webbing in between.

Using an iron, press your “sandwich” of fabrics and webbing together, following directions which come with the webbing.

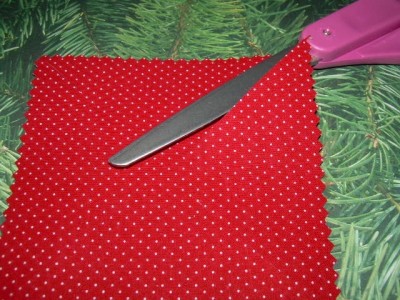
Lightly trace a 4″ square in one corner of your “sandwich”, and cut it out with pinking shears.

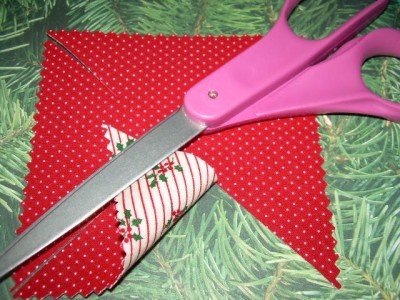
At one corner of your square (using regular scissors) snip in towards the center – but do NOT go all the way! Leave about 1/2″ uncut. Repeat this step for the other 3 corners of the square.

Snip corner
pinwheelsnip

Corners can now be easily be turned over.
pinwhscissorfold

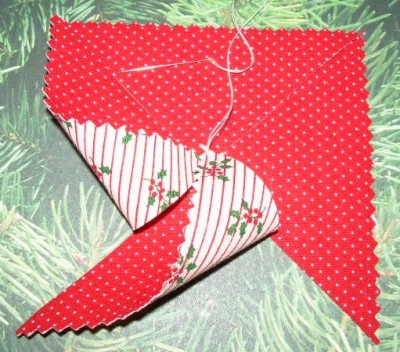
Using a doubled piece of thread, take a stitch through the center of the square from front to back. Bring the needle back to the front staying very close to the center of the square. Next you will be forming the pinwheel. With the square flat in front of you, pick up the right corner on one side, fold it over so that its point touches the center of the square, and stitch the point down. Turn the square, and take the right corner of the second side, and stitch it to the center on top of the previous corner that you just stitched. Repeat until all four corners are attached to the center of the square.

pinwheelsewcorner

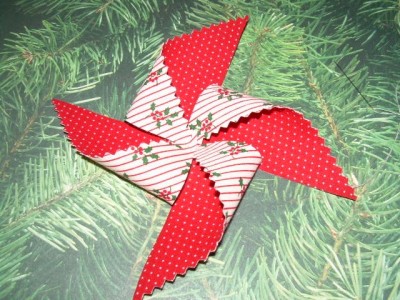
The pinwheel is taking shape!
pinwheelallfolds

Attach a button to the center to hide all your stitching. Cut the dowel to the desired length and whipstitch (or glue) to the back of the pinwheel.

Use a piece of gold cord or fishing line to make a hanger for you new ornament!

All finished 😀

pinwheel2

crystal-1b3-copy-flatfullwidth