12 Ornaments of Christmas – Part 7

toys2

I have a riddle for you! πŸ™‚

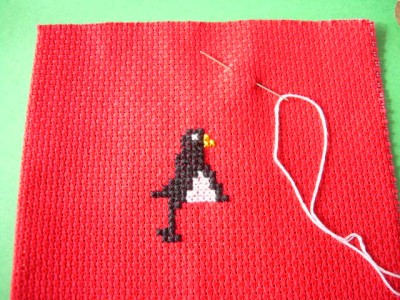
What do you get when you take this . . .

penguinx-st

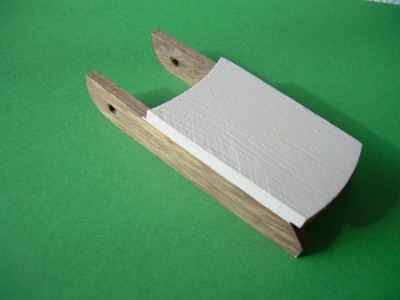
And add it to this?

sled

Answer: A unique handmade Christmas ornament! πŸ˜‰

PenguinOrnza

PenguinOrnz

The 7th ornament in this series is a little wooden sled that I’ve decorated with a small piece of cross stitch – but you could choose any number of other ways to embellish it including a crocheted motif, or embroidery, sewing, pieced felt, papercrafts, or even decorative painting. The idea is to use a winter or holiday item, like the sled, and decorate it in an unusual way to create a very special ornament!

Supplies:

penguinborderc

small wooden sled (available at craft stores)
tiny cross stitched design of your choice
scrap of felt for hat
small beads (seed beads for hat, 4mm bead for pom pom)
glittered ribbon cord for hanger and bow
small piece of decorative braid or trim
tacky glue

Directions:

penguinborderc

You’ll notice my sled has been stained and painted – which is NOT necessary. Leaving it natural is perfectly fine, or you may decide to paint your sled a bright color.

Stitch the design of your choice in cross stitch.

Lay the finished stitching on the table face-up. Place the sled (seat side down) on top of the stitching. Be sure it is centered and trace around the sled (directly onto the fabric) so that you will have the traced outline as a cutting guide.

Cut on the line and after placing a thin layer of tacky glue on the top of the sled, attach the stitching to it. Press firmly and allow to dry.

Use a piece of cord to make a “pulling rope” for the sled.

penguinsuppliesz

Optional:

penguinborderc

I made a hat for the penguin by cutting a small triangle of felt and sewing it in place. I folded the top corner over and attached a crystal pom pom and a few seed beads for sparkle!

I decided that the cross stitch design could use a border of some kind. Since I didn’t have any suitable decorative trim on hand, I took a piece of the glittered ribbon cord and crocheted a “chain” to glue around the edges of the sled. A small bow in the lower left corner was the finishing touch.

candy_caneYou’ll have lots of your own ideas, of course, but I hope this will inspire you to look around for something you have there right now, that could be used to make a unique ornament. πŸ˜€

crystal-1b3-copy-flatfullwidth

12 Ornaments of Christmas – Part 5

toys2

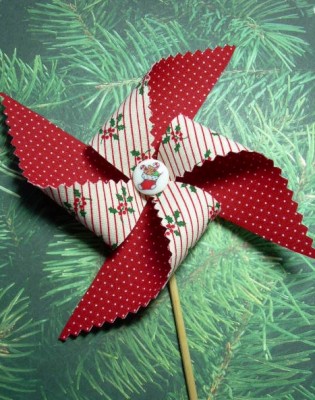
For Part 5 in my series of quick and easy ornaments, I have a little fabric pinwheel for you. This is a great way to use up any remnants of Christmas fabric in your stash. But even if you have to buy the material, it won’t cost very much because so little is needed. πŸ™‚

Christmas Pinwheel

pinwheel2

Supplies:

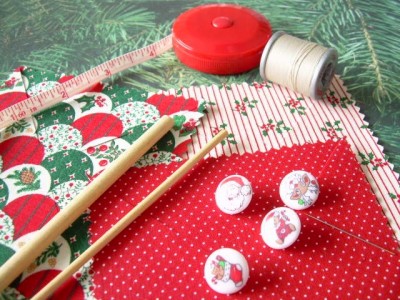
Fabric Remnants – Two Coordinating Christmas Prints (a 9″ by 9″ piece of each print will be easiest to work with and will make 4 ornaments.)

Fusible webbing (a piece that measures just under 9″ square)

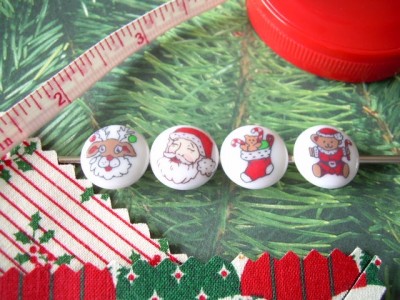
Christmas buttons or decorative buttons – 5/8″ in diameter

Wooden dowel – about the thickness of a lollipop stick – available at most craft stores

Thread, needle, pinking shears, and regular scissors

Gold Cord or fishing line for hanger

Gather your supplies . . .
pinwheelsupplies

I found some cute Christmas buttons!
pinwheelbuttons

Directions:

Cut a square of fusible webbing (a little less than 9″ by 9″) and sandwich it between your two Christmas prints. Both prints should be wrong sides together with the webbing in between.

Using an iron, press your “sandwich” of fabrics and webbing together, following directions which come with the webbing.

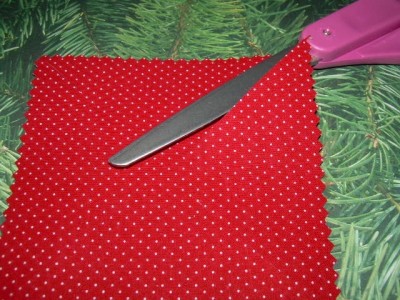
Lightly trace a 4″ square in one corner of your “sandwich”, and cut it out with pinking shears.

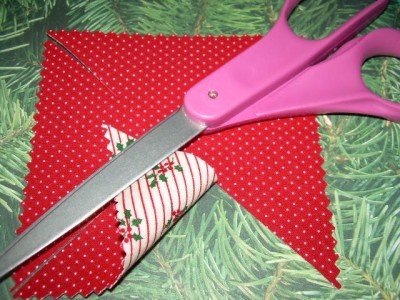
At one corner of your square (using regular scissors) snip in towards the center – but do NOT go all the way! Leave about 1/2″ uncut. Repeat this step for the other 3 corners of the square.

Snip corner
pinwheelsnip

Corners can now be easily be turned over.
pinwhscissorfold

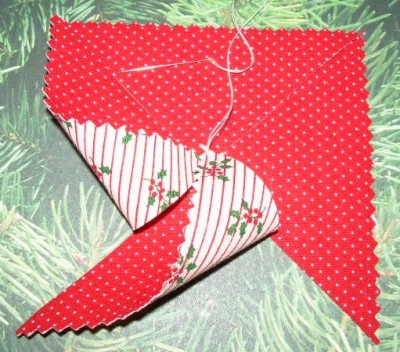
Using a doubled piece of thread, take a stitch through the center of the square from front to back. Bring the needle back to the front staying very close to the center of the square. Next you will be forming the pinwheel. With the square flat in front of you, pick up the right corner on one side, fold it over so that its point touches the center of the square, and stitch the point down. Turn the square, and take the right corner of the second side, and stitch it to the center on top of the previous corner that you just stitched. Repeat until all four corners are attached to the center of the square.

pinwheelsewcorner

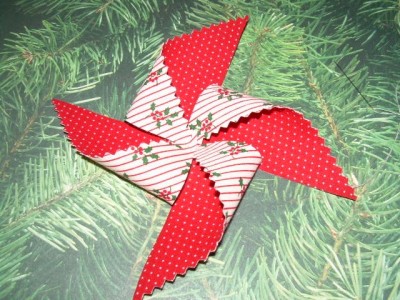
The pinwheel is taking shape!
pinwheelallfolds

Attach a button to the center to hide all your stitching. Cut the dowel to the desired length and whipstitch (or glue) to the back of the pinwheel.

Use a piece of gold cord or fishing line to make a hanger for you new ornament!

All finished πŸ˜€

pinwheel2

crystal-1b3-copy-flatfullwidth