For Part 5 in my series of quick and easy ornaments, I have a little fabric pinwheel for you. This is a great way to use up any remnants of Christmas fabric in your stash. But even if you have to buy the material, it won’t cost very much because so little is needed. 🙂
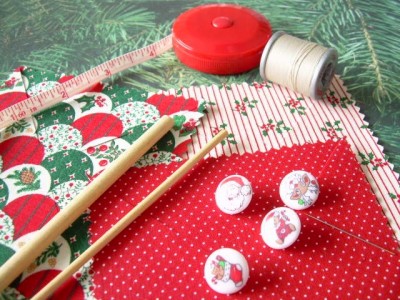
Supplies:
Fabric Remnants – Two Coordinating Christmas Prints (a 9″ by 9″ piece of each print will be easiest to work with and will make 4 ornaments.)
Fusible webbing (a piece that measures just under 9″ square)
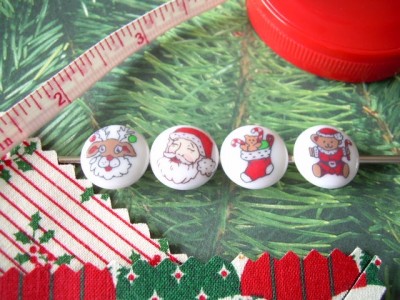
Christmas buttons or decorative buttons – 5/8″ in diameter
Wooden dowel – about the thickness of a lollipop stick – available at most craft stores
Thread, needle, pinking shears, and regular scissors
Gold Cord or fishing line for hanger
I found some cute Christmas buttons!
Directions:
Cut a square of fusible webbing (a little less than 9″ by 9″) and sandwich it between your two Christmas prints. Both prints should be wrong sides together with the webbing in between.
Using an iron, press your “sandwich” of fabrics and webbing together, following directions which come with the webbing.
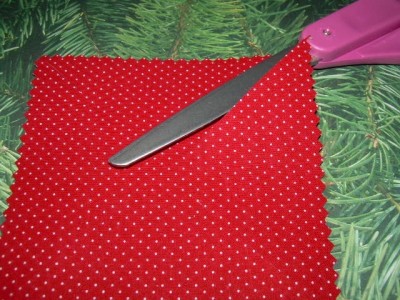
Lightly trace a 4″ square in one corner of your “sandwich”, and cut it out with pinking shears.
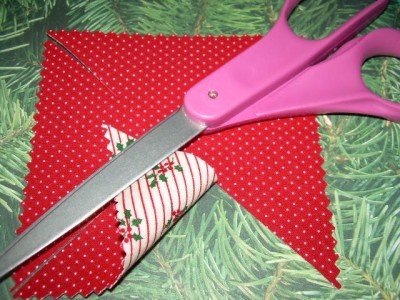
At one corner of your square (using regular scissors) snip in towards the center – but do NOT go all the way! Leave about 1/2″ uncut. Repeat this step for the other 3 corners of the square.
Corners can now be easily be turned over.
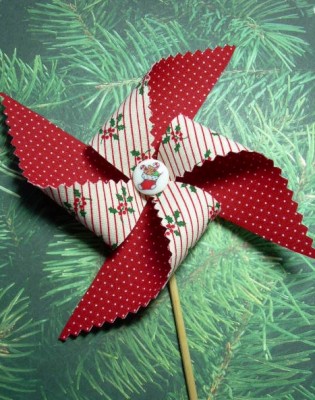
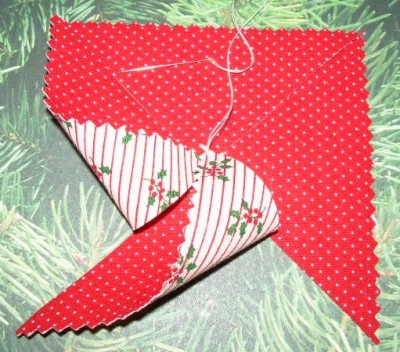
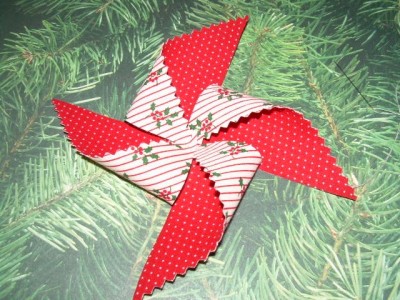
Using a doubled piece of thread, take a stitch through the center of the square from front to back. Bring the needle back to the front staying very close to the center of the square. Next you will be forming the pinwheel. With the square flat in front of you, pick up the right corner on one side, fold it over so that its point touches the center of the square, and stitch the point down. Turn the square, and take the right corner of the second side, and stitch it to the center on top of the previous corner that you just stitched. Repeat until all four corners are attached to the center of the square.
Attach a button to the center to hide all your stitching. Cut the dowel to the desired length and whipstitch (or glue) to the back of the pinwheel.
Use a piece of gold cord or fishing line to make a hanger for you new ornament!
All finished 😀


These are just too sweet. I can see them used for spring decorations also. Thanks for the inspiration.
Hi Crystal! I came from Paulette’s site aka Beedeebabee! I’m glad I got the chance to visit! Your art and site is lovely! Great post! Love the fabric Pinwheel! Thanks for sharing your creativity with us!
Hugs,
Lisa 🙂
That is sooo cute!! Great directions. Even the sewing challenged like me can follow along. 😀
And I have new pinking shears.
And JoAnn’s has Christmas fabric on sale. Or at least they did.
I think this is something I could make! Thanks for the clear instructions …that always helps me!
Hi Crystal! You would have made an excellent teacher! Your directions and pictures are so perfect! I really love this little pin wheel ornament. It would be adorable as a gift topper also. Those buttons are adorable.
….I also really liked your recipe from the post before this. For some silly reason, I wasn’t able to leave a comment on that post, but I wanted you to know I tried! Hugs, Paulette 😉
I love this and it looks so easy- I think I will get my supplies out and see what I need to get to do this. Thanks for the tutorial step-by-step guide!
That’s soooo cute. My toddler would absolutely love it!! Great DIY post.
With these clear steps, I think I should be able to do it too!
Thanks for the guide! Looks pretty easy to do!