An Autumn Gift – Wrapped

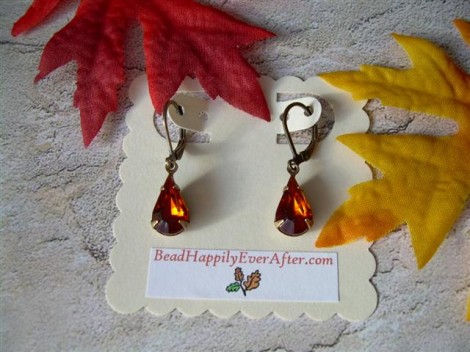
Recently, a customer placed an order with me for a pair of earrings.

She said they were for her friend who loves:

1. The autumn season

2. Simple styles of jewelry – “nothing too busy or over the top”

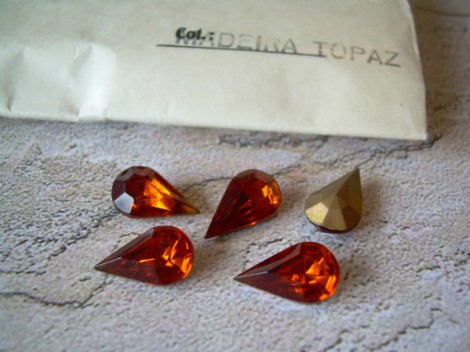
After giving it some thought, I decided that these awesome vintage rhinestones, with their fiery glow, would definitely evoke the warmth of autumn!

So, I hand-set the stones in oxidized brass settings and then chose lever-back earwires to match. I felt they fit the bill for simplicity, but there was one more thing to do. You see, my customer had also requested gift-wrapping that would continue with the autumn theme!

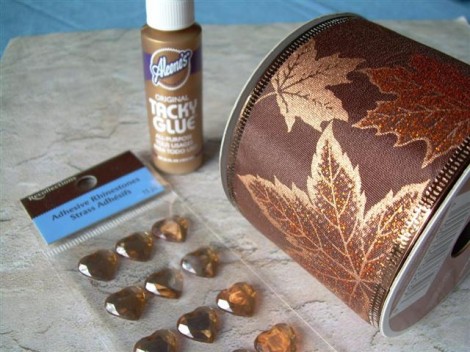
A quick look through my stash of supplies turned up some fall-ish wired ribbon and heart-shaped embellishments in a pretty shade of amber apricot. I knew if I added a bit of tacky glue, I could make a little gift pouch that would coordinate nicely. 😀

If you’ve never tried it before, I think you’ll discover that wired ribbon makes a very easy and very festive little wrapper that’s perfect for jewelry, gift cards, candy, or any small trinket! The ribbon comes in different widths (I used 2-1/2″ here.) and is available at most craft stores and other places that carry gift wrap. It comes in all colors and for all occasions. The holiday ribbons are particularly beautiful.

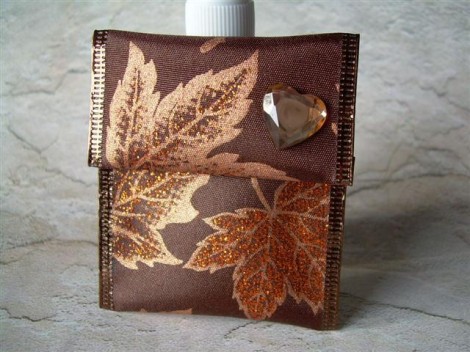
To make the pouch, cut a piece of ribbon that’s approximately two and a half times the length of the object you want to place inside.

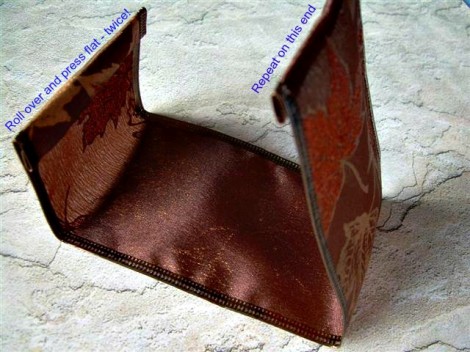
Fold over a narrow “hem” at the top raw edge (See photo above.). No sewing needed – just crease it well with your fingers. Then, roll that hem over again, so that the raw edge is totally hidden, and press the crease once more. Repeat this on the other end of the ribbon. You’ll see how the wired ribbon really holds its shape.

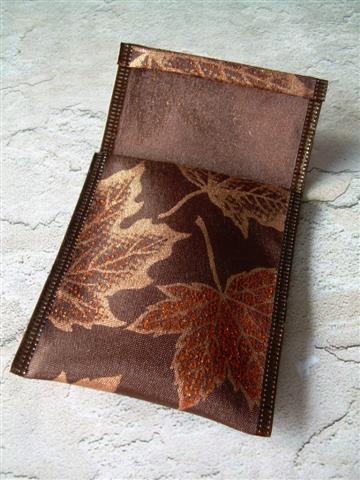
Next, lay your item on top of the ribbon, wrong side up, (again, refer to that photo just above!) to determine where to fold-up the “pocket”. Press that fold with your fingers.

Now you can see that there’s a pocket area and the remaining length of the ribbon becomes the “flap”.

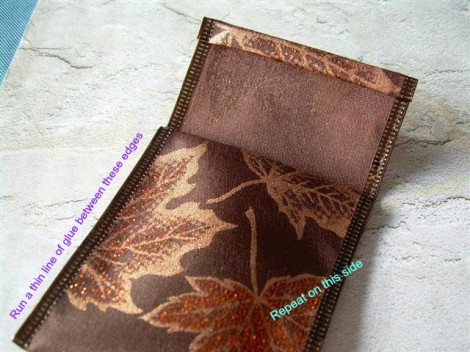
Your gift pouch is now ready to be glued together. Run a narrow line of tacky glue down the inside edges but stop gluing when you reach the flap – it should not be glued at all . . . you want to be able to open and close it at will.

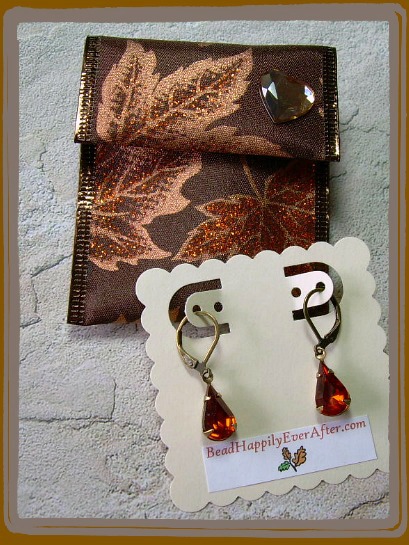
Allow the tacky glue to dry for several hours and then add any decorations you desire. My ribbon has lots of sparkle so I kept the embellishment to a minimum, but you might want to add lace to the flap, or a tassel, or beads, or even buttons!

This pouch is so simple, and yet it makes a really nice presentation for a small gift!

Word has it that my customer’s friend was delighted! 😀

‘Til next time . . .

crystal-1b3-copy-flatfullwidth

Easy Peasy Beading

I’ve had requests for “beginner” bead projects – simple things that can be accomplished without any beading experience.

This morning, it occurred to me that Make somethin’ Monday is just the place to showcase a basic design.

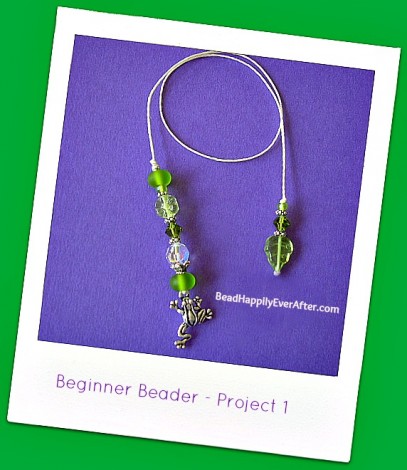
In my view, the easiest thing to make is a bookmark. All you need are a few beads, maybe a little charm, and some cord that’s narrow enough to fit through the holes.

If you can tie a knot, you can make this. 😀

No pliers, no wire-wrapping, no crimping needed! The beads and the little froggy all stay in place with a just few double knots! Play with different arrangements of your components before you string them to arrive at a design that pleases you most. Then, tie a knot at each end to hold the beads on, and again at the top of each grouping of beads to keep them in place on the string! See? I told ya it was easy! 🙂

With the holidays approaching, you could make a whole bunch of these for gifts – and the best part is you won’t have to worry if they’ll fit the lucky recipient or coordinate with her wardrobe! 😉

If you choose beads and charms in holiday colors and themes, this very simple design could quickly become a sparkling ornament to drape around the branches of a Christmas tree!

Please note! Glass beads and small components of any kind should not be left where small children might have access to them!

Hugs,

crystal-1b3-copy-flatfullwidth

Sparkling Snowflakes Wreath

Isn’t it funny how one thing often leads to another when browsing the web?

I can be searching for something as mundane as “how to remove a juice stain” and before I know it I’m clicking on a dinner recipe, or reading some interesting article, or gleefully wading through a gallery of craft ideas!

Don’t ask me how I bumped into the little project I will feature in this post.

I can tell you one thing, for sure. I was not looking for it. 😉

curlyline

If you’ve shopped the aisles of any of the craft super-stores, you know that the supplies for paper crafts are endless. They call out to me – especially when they’re on sale – and I’ve accumulated a nice little collection. I don’t use them very often, and that’s a shame because working with paper can be incredibly soothing. (Must be the kid in me that feels that way!)

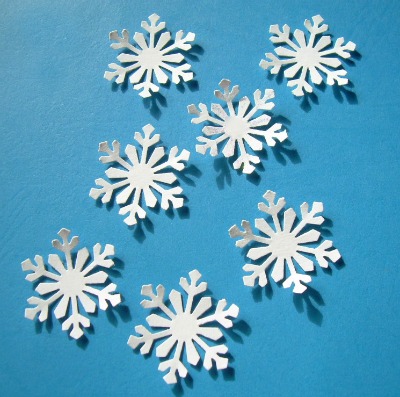
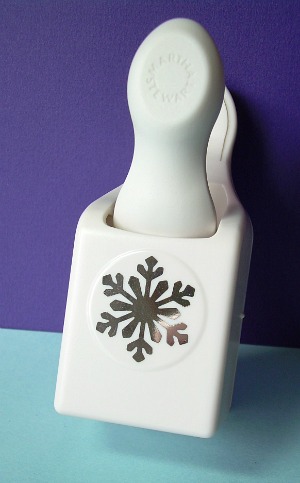
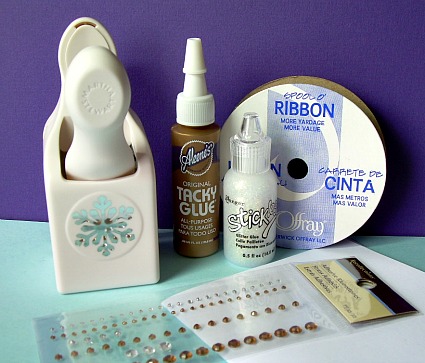
Today, I have an ornament to show you. It caught my eye because it’s made with something I already have – a Martha Stewart snowflake stamp!

In fact I already had most of the supplies!

There was only one I had to buy . . .

I had never used Stickles before (Where have I been?), but are they ever fun! Who could resist glitter that rolls on easily and dries sparkly? I’m of the opinion that everything looks better with a hint of glitter. 😀

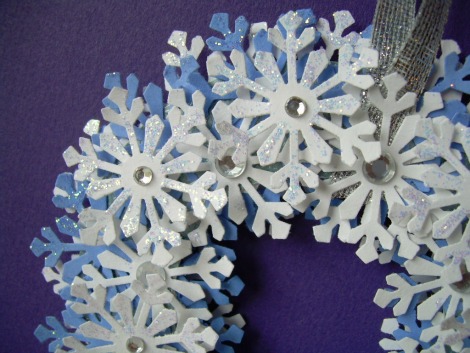
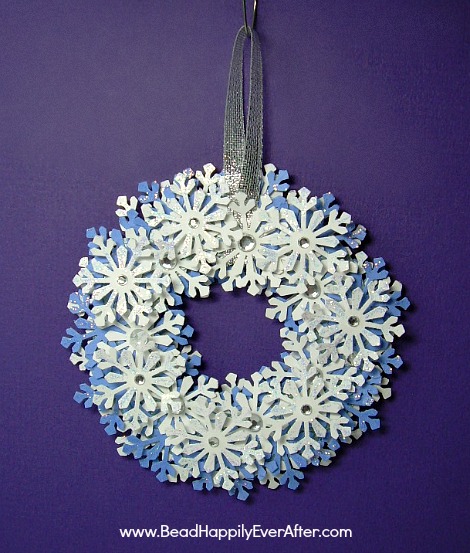
Isn’t this pretty? (This is the back side.) Nice for the Christmas tree and gorgeous for a package tie-on!

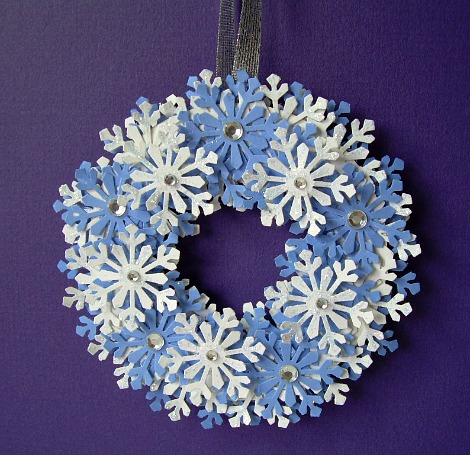
And here’s the front of the ornament. It has a very cool 3-d effect in person. I think this decoration is holiday-neutral enough to keep on display all winter long!!


If you, too, have an urge to play with paper, the directions can be found here.

Hugs,

crystal-1b3-copy-flatfullwidth

The Countdown Has Begun

It’s just around the corner you know . . .

And I don’t mean the first day of school.

I mean Christmas!!!!

Ok, ok, stop pelting me with your assorted slippers, sandals, and salad vegetables! 😉

curlyline

ornamentssmSeriously though, Kids, it’s never too early to think about Christmas – especially if you’d like to make gifts, ornaments, or design your own Christmas cards! Those things take time and you don’t need me to tell you it’s more fun to do them at your leisure than last minute.

(I do need to tell myself, however. In fact, I need reminding every year!)


For me, getting a little jump-start on the holidays brings an added incentive. You see, thinking of Christmas during the steamy days of summer makes me feel cooler!

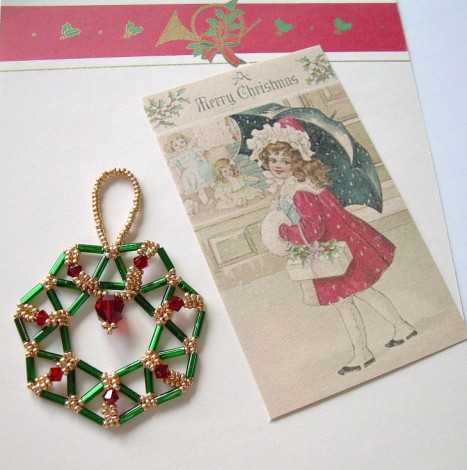
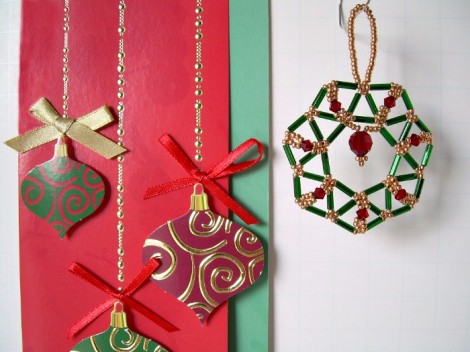
So, here’s Exhibit 1, my first ornament of the 2012 season.

The components are Czech glass seed beads, glass bugle beads, and Swarovski Crystals. Definitely more sparkly in person . . . I think it will just twinkle on the Christmas tree. 😀

Also perfect to tie on a package, a box of chocolates, or even a bottle of spirits! It was fun to make… quick and easy, too!

(You can find the pattern by clicking here!)

Hugs,

crystal-1b3-copy-flatfullwidth

Little Things

Are you charmed by little things? I am.

For example, if I’m in a gift shop – I’m much more likely to be attracted to a tiny doll than to a large one.

When I am making things, it’s the same story.

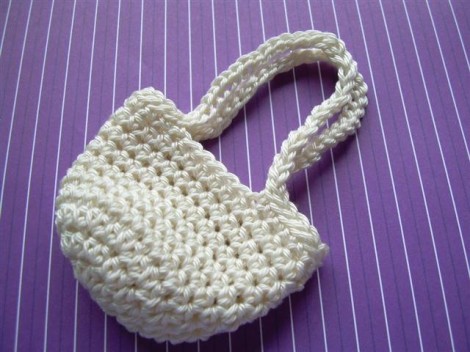
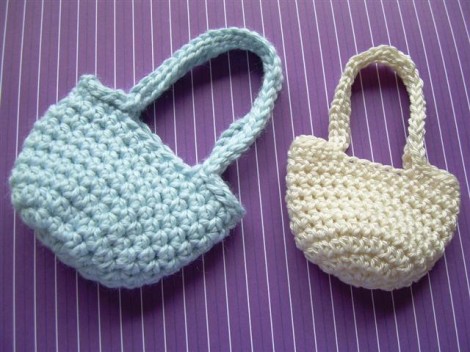
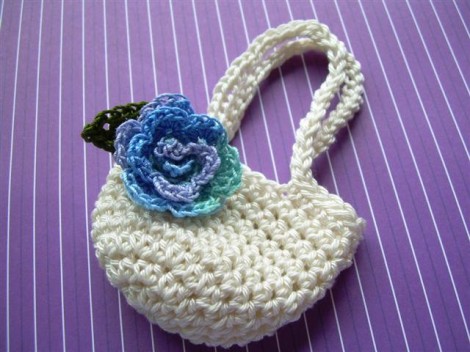
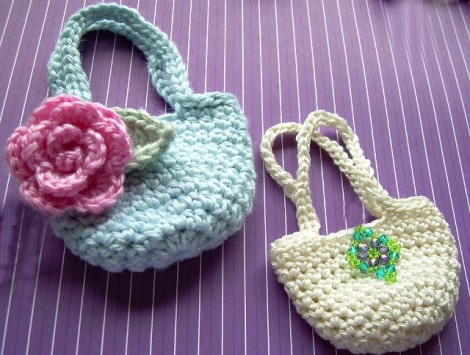
A couple of months ago, I made a little purse and a tiny rose to adorn it . . .

and then I couldn’t stop!


I made some more purses.

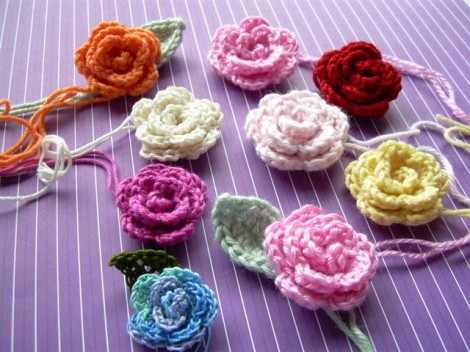
And then some more roses.

I thought about which rose for which purse . . .


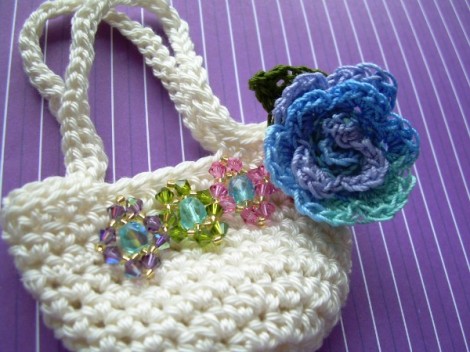
Then I wondered if I should ditch the rose and try beads instead for embellishment.

I have a dozen ideas for these. They’ve been quite a welcome distraction during the incredibly sultry weather we’ve had here lately!

What do you like to do when it’s just too hot to move?

Hugs,

crystal-1b3-copy-flatfullwidth