Recently, a customer placed an order with me for a pair of earrings.
She said they were for her friend who loves:
1. The autumn season
2. Simple styles of jewelry – “nothing too busy or over the top”
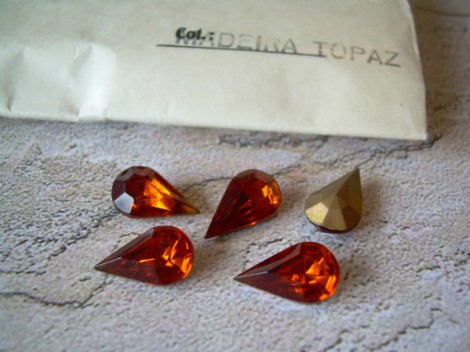
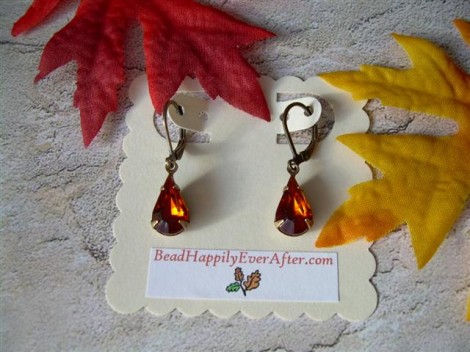
After giving it some thought, I decided that these awesome vintage rhinestones, with their fiery glow, would definitely evoke the warmth of autumn!
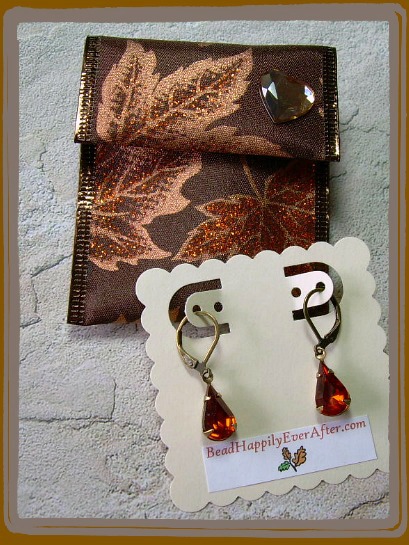
So, I hand-set the stones in oxidized brass settings and then chose lever-back earwires to match. I felt they fit the bill for simplicity, but there was one more thing to do. You see, my customer had also requested gift-wrapping that would continue with the autumn theme!
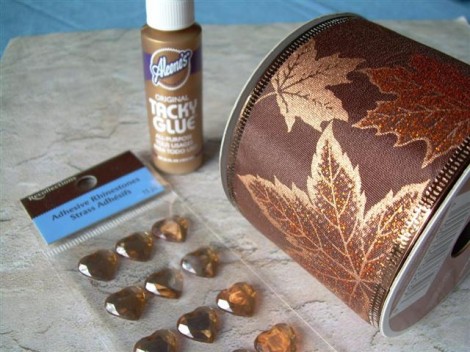
A quick look through my stash of supplies turned up some fall-ish wired ribbon and heart-shaped embellishments in a pretty shade of amber apricot. I knew if I added a bit of tacky glue, I could make a little gift pouch that would coordinate nicely. 😀
If you’ve never tried it before, I think you’ll discover that wired ribbon makes a very easy and very festive little wrapper that’s perfect for jewelry, gift cards, candy, or any small trinket! The ribbon comes in different widths (I used 2-1/2″ here.) and is available at most craft stores and other places that carry gift wrap. It comes in all colors and for all occasions. The holiday ribbons are particularly beautiful.
To make the pouch, cut a piece of ribbon that’s approximately two and a half times the length of the object you want to place inside.
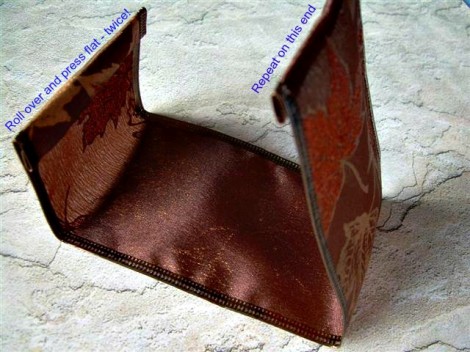
Fold over a narrow “hem” at the top raw edge (See photo above.). No sewing needed – just crease it well with your fingers. Then, roll that hem over again, so that the raw edge is totally hidden, and press the crease once more. Repeat this on the other end of the ribbon. You’ll see how the wired ribbon really holds its shape.
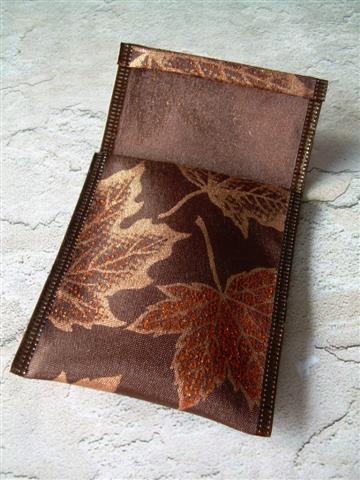
Next, lay your item on top of the ribbon, wrong side up, (again, refer to that photo just above!) to determine where to fold-up the “pocket”. Press that fold with your fingers.
Now you can see that there’s a pocket area and the remaining length of the ribbon becomes the “flap”.
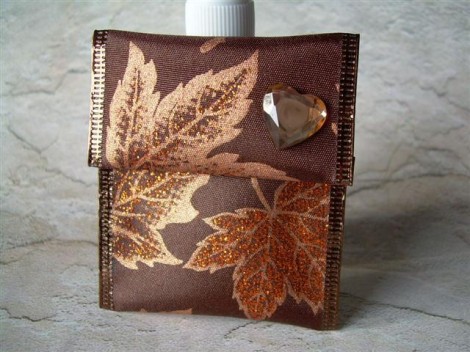
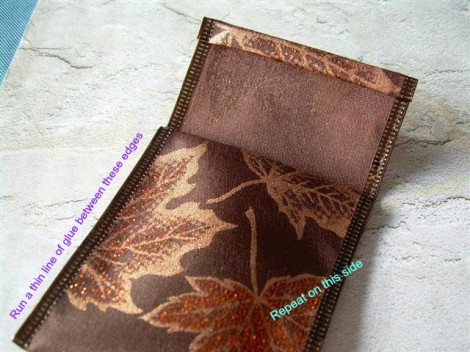
Your gift pouch is now ready to be glued together. Run a narrow line of tacky glue down the inside edges but stop gluing when you reach the flap – it should not be glued at all . . . you want to be able to open and close it at will.
Allow the tacky glue to dry for several hours and then add any decorations you desire. My ribbon has lots of sparkle so I kept the embellishment to a minimum, but you might want to add lace to the flap, or a tassel, or beads, or even buttons!
This pouch is so simple, and yet it makes a really nice presentation for a small gift!
Word has it that my customer’s friend was delighted! 😀
‘Til next time . . .


