A Case of Start-itis

Ok, I’ll admit it . . .

I have a bad case of start-itis!

I often have several creative projects “simmering” at the same time.

Perhaps, it’s a character flaw?
Oh but I’d much rather believe I’m . . . uhm . . . artistically ambitious!

(LOL, doesn’t that sound like I’m trying to justify bad behavior!)

curlyline

I’ve always envied people who begin one thing and have the
stick-to-it-iveness to completely finish it before beginning something else. Not me, though! I might be crocheting a hat, making a bead-woven necklace, and designing a Christmas card – all at the same time. I guess I just like the excitement of seeing several things in the works.

They do eventually get finished — really!
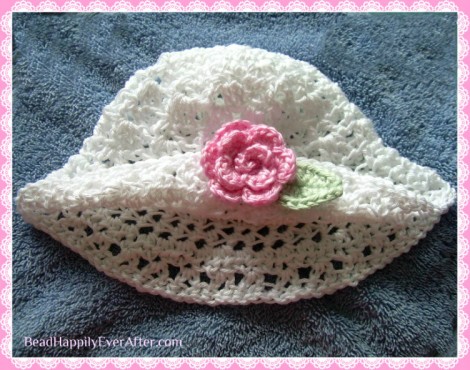
This lacey crocheted baby hat was such fun to make.

(click to enlarge)

It was tough to get a realistic photo because I had to have it flat on the table, but I think you can imagine it looking a little rounder when worn.

The pattern was for just a plain hat, which somehow seemed too floppy. I decided to tack part of the brim to the crown, and then embellish it with the crocheted rose and leaf.

curlyline

That’s all for now, Kids . . .

I have this necklace waiting for more attention. 😉

(Do you have start-itis?)

Hugs,

crystal-1b3-copy-flatfullwidth


I’d love to hear your thoughts!

Click the envelope to leave a comment or to read what the other kids are saying! 😀

Door Decor

I love the look of a home with a decorated front door.

It’s not only attractive – it’s an expression of “Welcome”, too.

Have you ever seen something really creative and then asked yourself:

“Why didn’t I think of that?”

I sure have. Here, let me show you my latest example . . .

curlyline

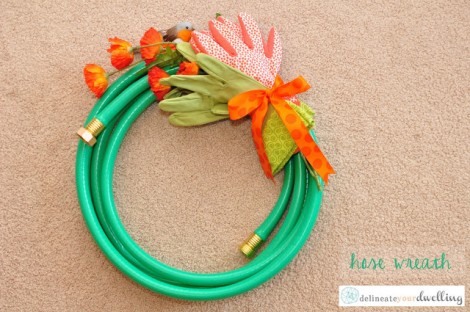
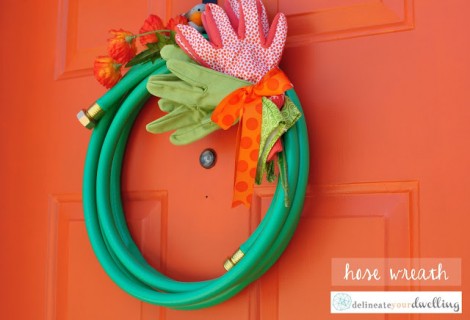
Wouldn’t this be a fun way to greet your summertime guests?

A length of hose, some garden gloves, a few flowers, and a little bird combine to make a unique and very charming wreath!

All credit goes to Amy (and her Mom). You’ll find a short tutorial for putting this wreath together on her blog.

Hugs,

crystal-1b3-copy-flatfullwidth


I’d love to hear your thoughts!

Click the envelope to leave a comment or to read what the other kids are saying! 😀

Snowflake Smiles

My daughters seem to have an innate talent for finding gifts I love.
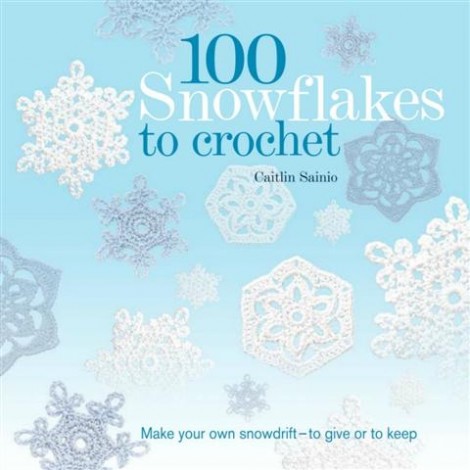
This Christmas, my youngest gave me a wonderful pattern book!

curlyline

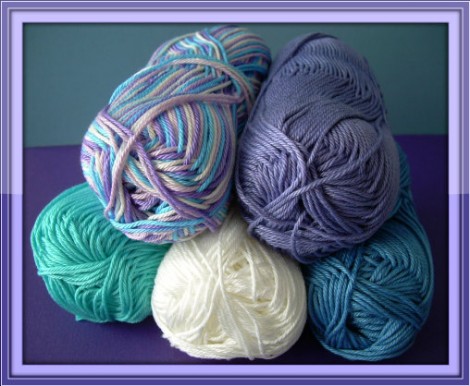
And to go with it – some delicious cotton yarn (Patons “Grace”).

curlyline

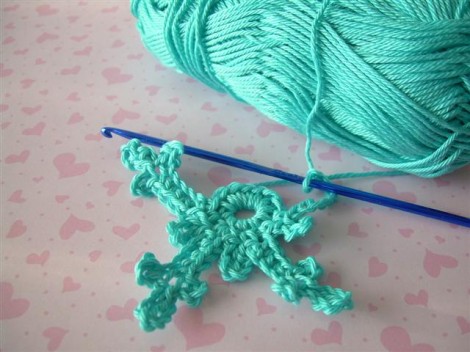
The book is chock full of amazing snowflake designs. I could hardly wait to get started . . .

curlyline

Believe it or not, I was actually making these during a snowstorm!

curlyline

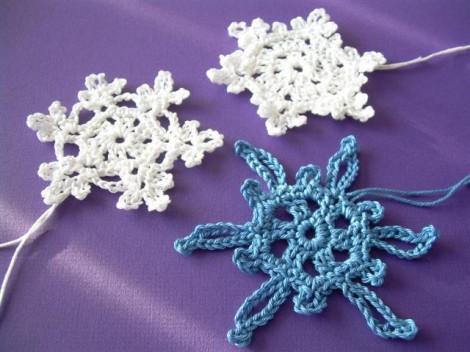
Before long, I had a little pile but, as many of you know, crocheted items often come out a little wonky (wrinkly) at first and need to be blocked into shape.

curlyline

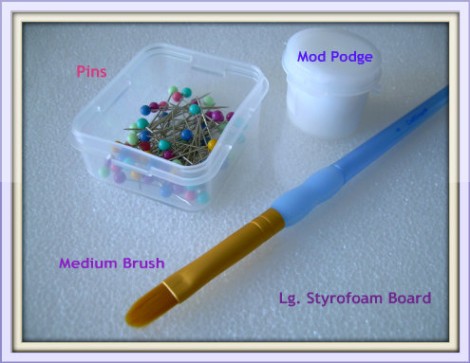
In addition to shaping them, I wanted the snowflakes to be stiff enough to hang on the Christmas tree next year. As soon as I gathered a few supplies, I was ready to begin work on that part of the process.

curlyline

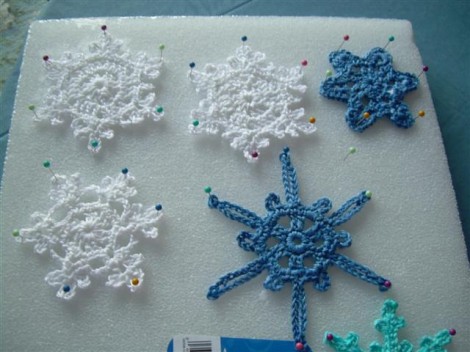
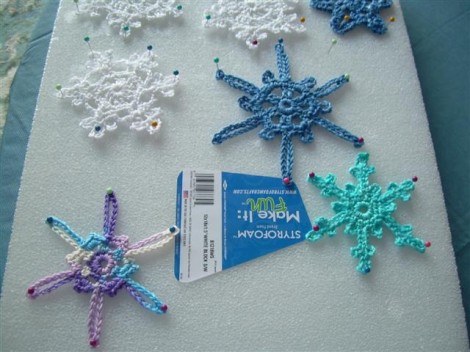
After painting them with a thin coat of the Mod Podge, I gently pulled them into shape, and then pinned them in place to dry.

curlyline

I had planned to paint the second side (after the first side was totally dry) but eventually changed my mind. They seemed firm enough with just one coat.

curlyline

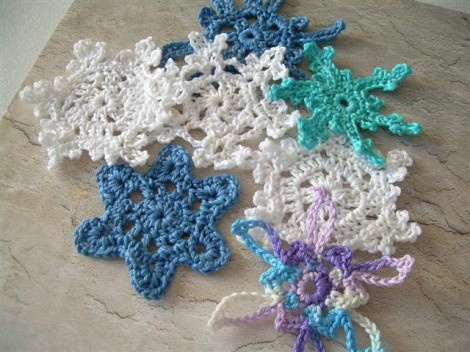
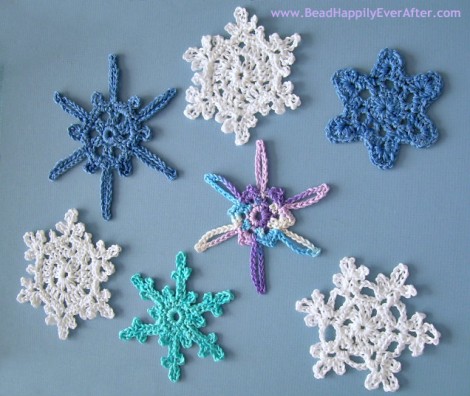
All finished!

Looking at them makes me smile – they were so much fun to make.

curlyline

Here in New England, it’s beginning to look like Spring, so I’m thinking that Mother Nature and I may be finished with snowflakes for a while . . .

But, I’ll be sure to make another little “blizzard” of them in time for next Christmas.

Hugs,

crystal-1b3-copy-flatfullwidth

I’d love to hear what’s up with you!

Click the envelope to leave a comment! 😀

Paper and Punches and Bling – Oh My!

Sometimes I think it’s a good thing that I am not wealthy. 😉

If I were – I’d be missing out on the pure joy I feel whenever I find something I love at a *giveaway* price.

curlyline

Take the other day, for example. I was out doing errands and, to my delight, I kept bumping into bargains at every turn!

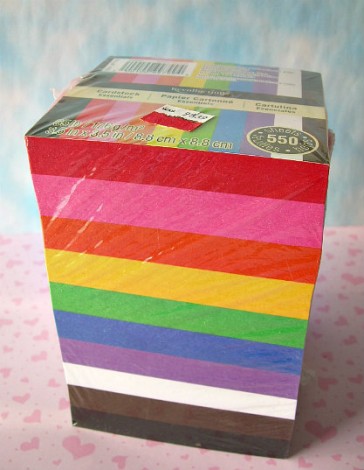
Like this rainbow of precut cardstock for half-price – perfect for paper tags!

curlyline

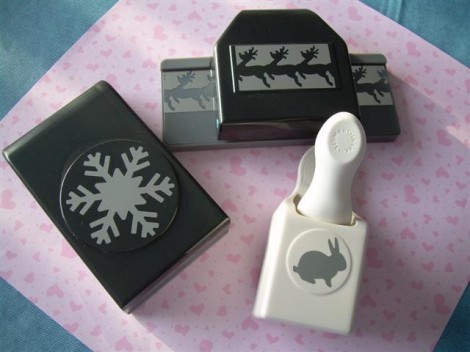
And then this trio of high quality paper punches at $3.99 each. Be still my heart – they usually retail for as much as $20 each!

curlyline

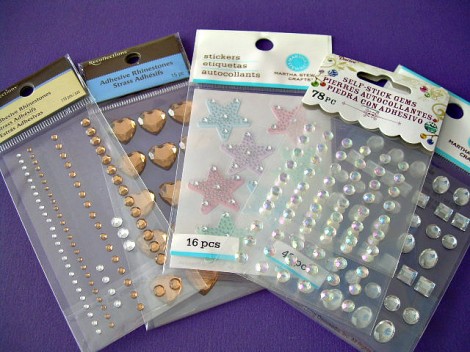
And finally, some bling-y embellishments marked 70% off! These are lovely to use on greeting cards, tags, gift wrap, and all kinds of things.

curlyline

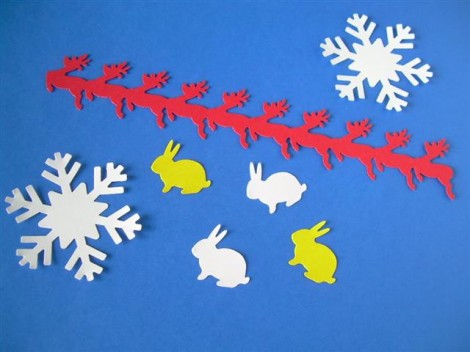
Of course, I had to try out the punches as soon as I got home!

curlyline

There’s lots of potential for holiday fun with the treasures I gathered and the fact that it didn’t hurt my budget to acquire them is really the icing on the cake.

Finding things you enjoy for a fraction of their regular prices…
It doesn’t get much better than that! 😀

curlyline

What about you, Kids? Do you love a bargain?
Tell me about a good deal you found!

Hugs,

crystal-1b3-copy-flatfullwidth

A Soft Spot for the Clever Crafts


Honestly Kids,
If I live to be a hundred – I’ll never get through the list of things I’d like to make. 😀

Maybe I’d have a chance if my list weren’t constantly growing, but there’s inspiration everywhere, and with the rise of internet – the possibilities seem endless!

curlyline

In my heart, I’ve always had a soft spot for the clever, quirky, type of crafts. You know – stuff that’s made with unexpected materials or with an unusual process. I’ll never forget the “fried marbles” project when I was a young Girl Scout! We all stared in amazement when our troop leader actually tossed marbles into a frying pan! Back then; it was oh-so-popular to turn them into pendants!

~Scarf Necklace~

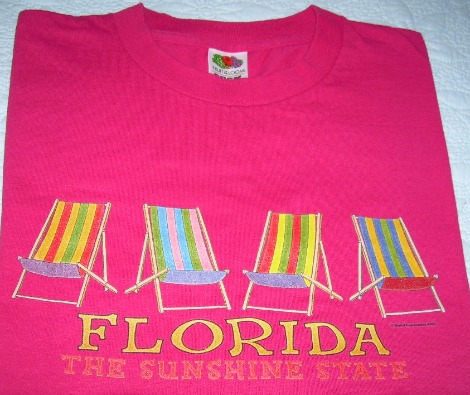
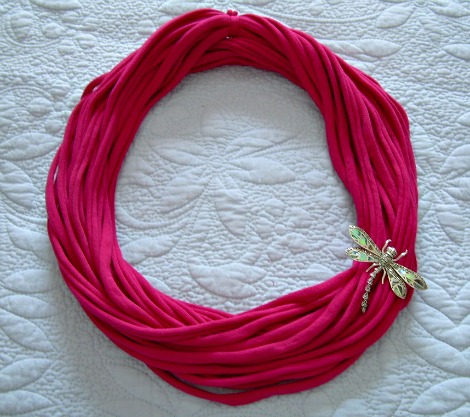
Last week, I finally had a chance to make an ingenious item that I’d first seen over a year ago – a “scarf-necklace” made from a T-shirt! Talk about easy and so much fun! No sewing or special skills involved – just grab a pair of scissors and an over-sized cotton t-shirt from your closet.

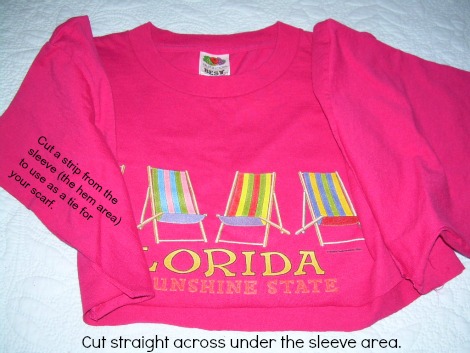
Here’s the one I used – originally bought to wear as a beach cover-up, but the neckline is so high that it’s uncomfortable on a hot day, so I’ve hardly ever worn it.

I’ll include a link (below) to a youtube video tutorial but basically you lay the shirt flat and cut the area just under the arms, through both thicknesses.

You’ll end up with a fairly wide tube of fabric, which you’ll then cut into 1” wide strips. The strips have raw edges but no worries! After you vigorously stretch each strip – those raw edges will fold into themselves and be hidden.

curlyline

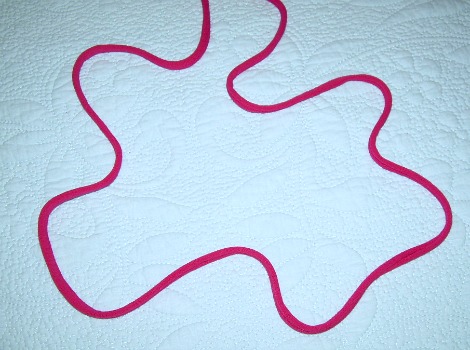
Here’s a 1″ strip after it’s been fully stretched. It looks like a smooth continuous piece of cord.

curlyline

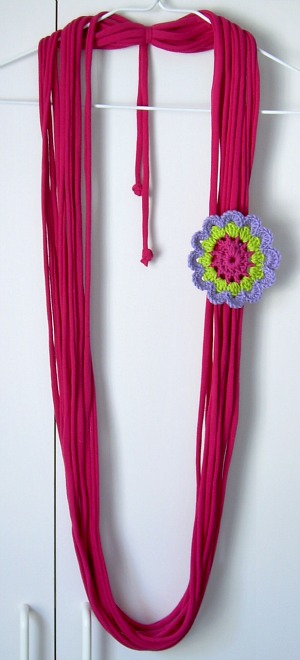
Once you’ve cut and stretched all the strips – you’ll have a handful of “cords”. Tie the whole bunch together with a short length of T-shirt fabric (cut from a sleeve). Then, the sky’s the limit on how to wear this chic little number! Try it long… like this!

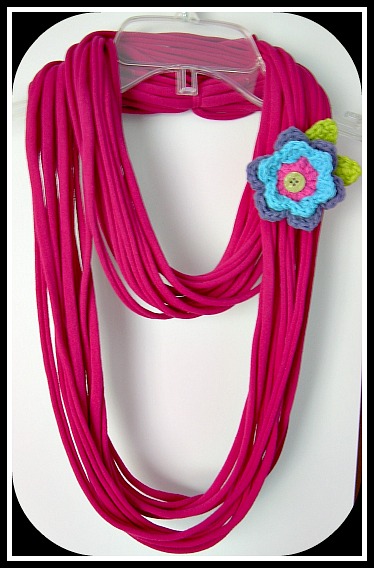
Or you could double it – the way you do with a long strand of beads.

Or even tripled for a choker effect!

Add a brooch, silk flowers, or handmade embellishments to spice up your new accessory.

Fun! And just think – you’re recycling, too!

curlyline

Want to make one? Take a peek on youtube for dozens of variations and styles. Here are a couple to get you started.

Hugs,

crystal-1b3-copy-flatfullwidth