Isn’t it great to visit a brand new store?
The merchandise is fresh and sparkling, not dog-eared and shopworn. The shelves are organized and there’s plenty of stock, so it’s usually a breeze to find your size, or favorite color, or preferred brand!
Whether it’s a new supermarket, bookshop, or clothing store – there’s something exciting and just plain fun about being among the first shoppers to stroll the aisles.
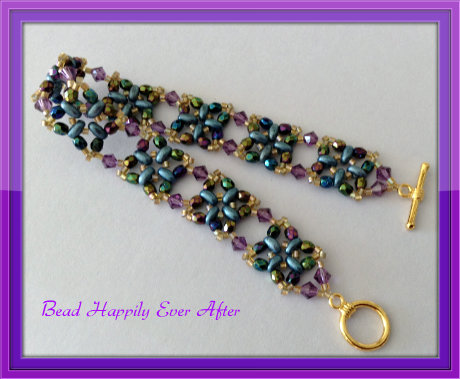
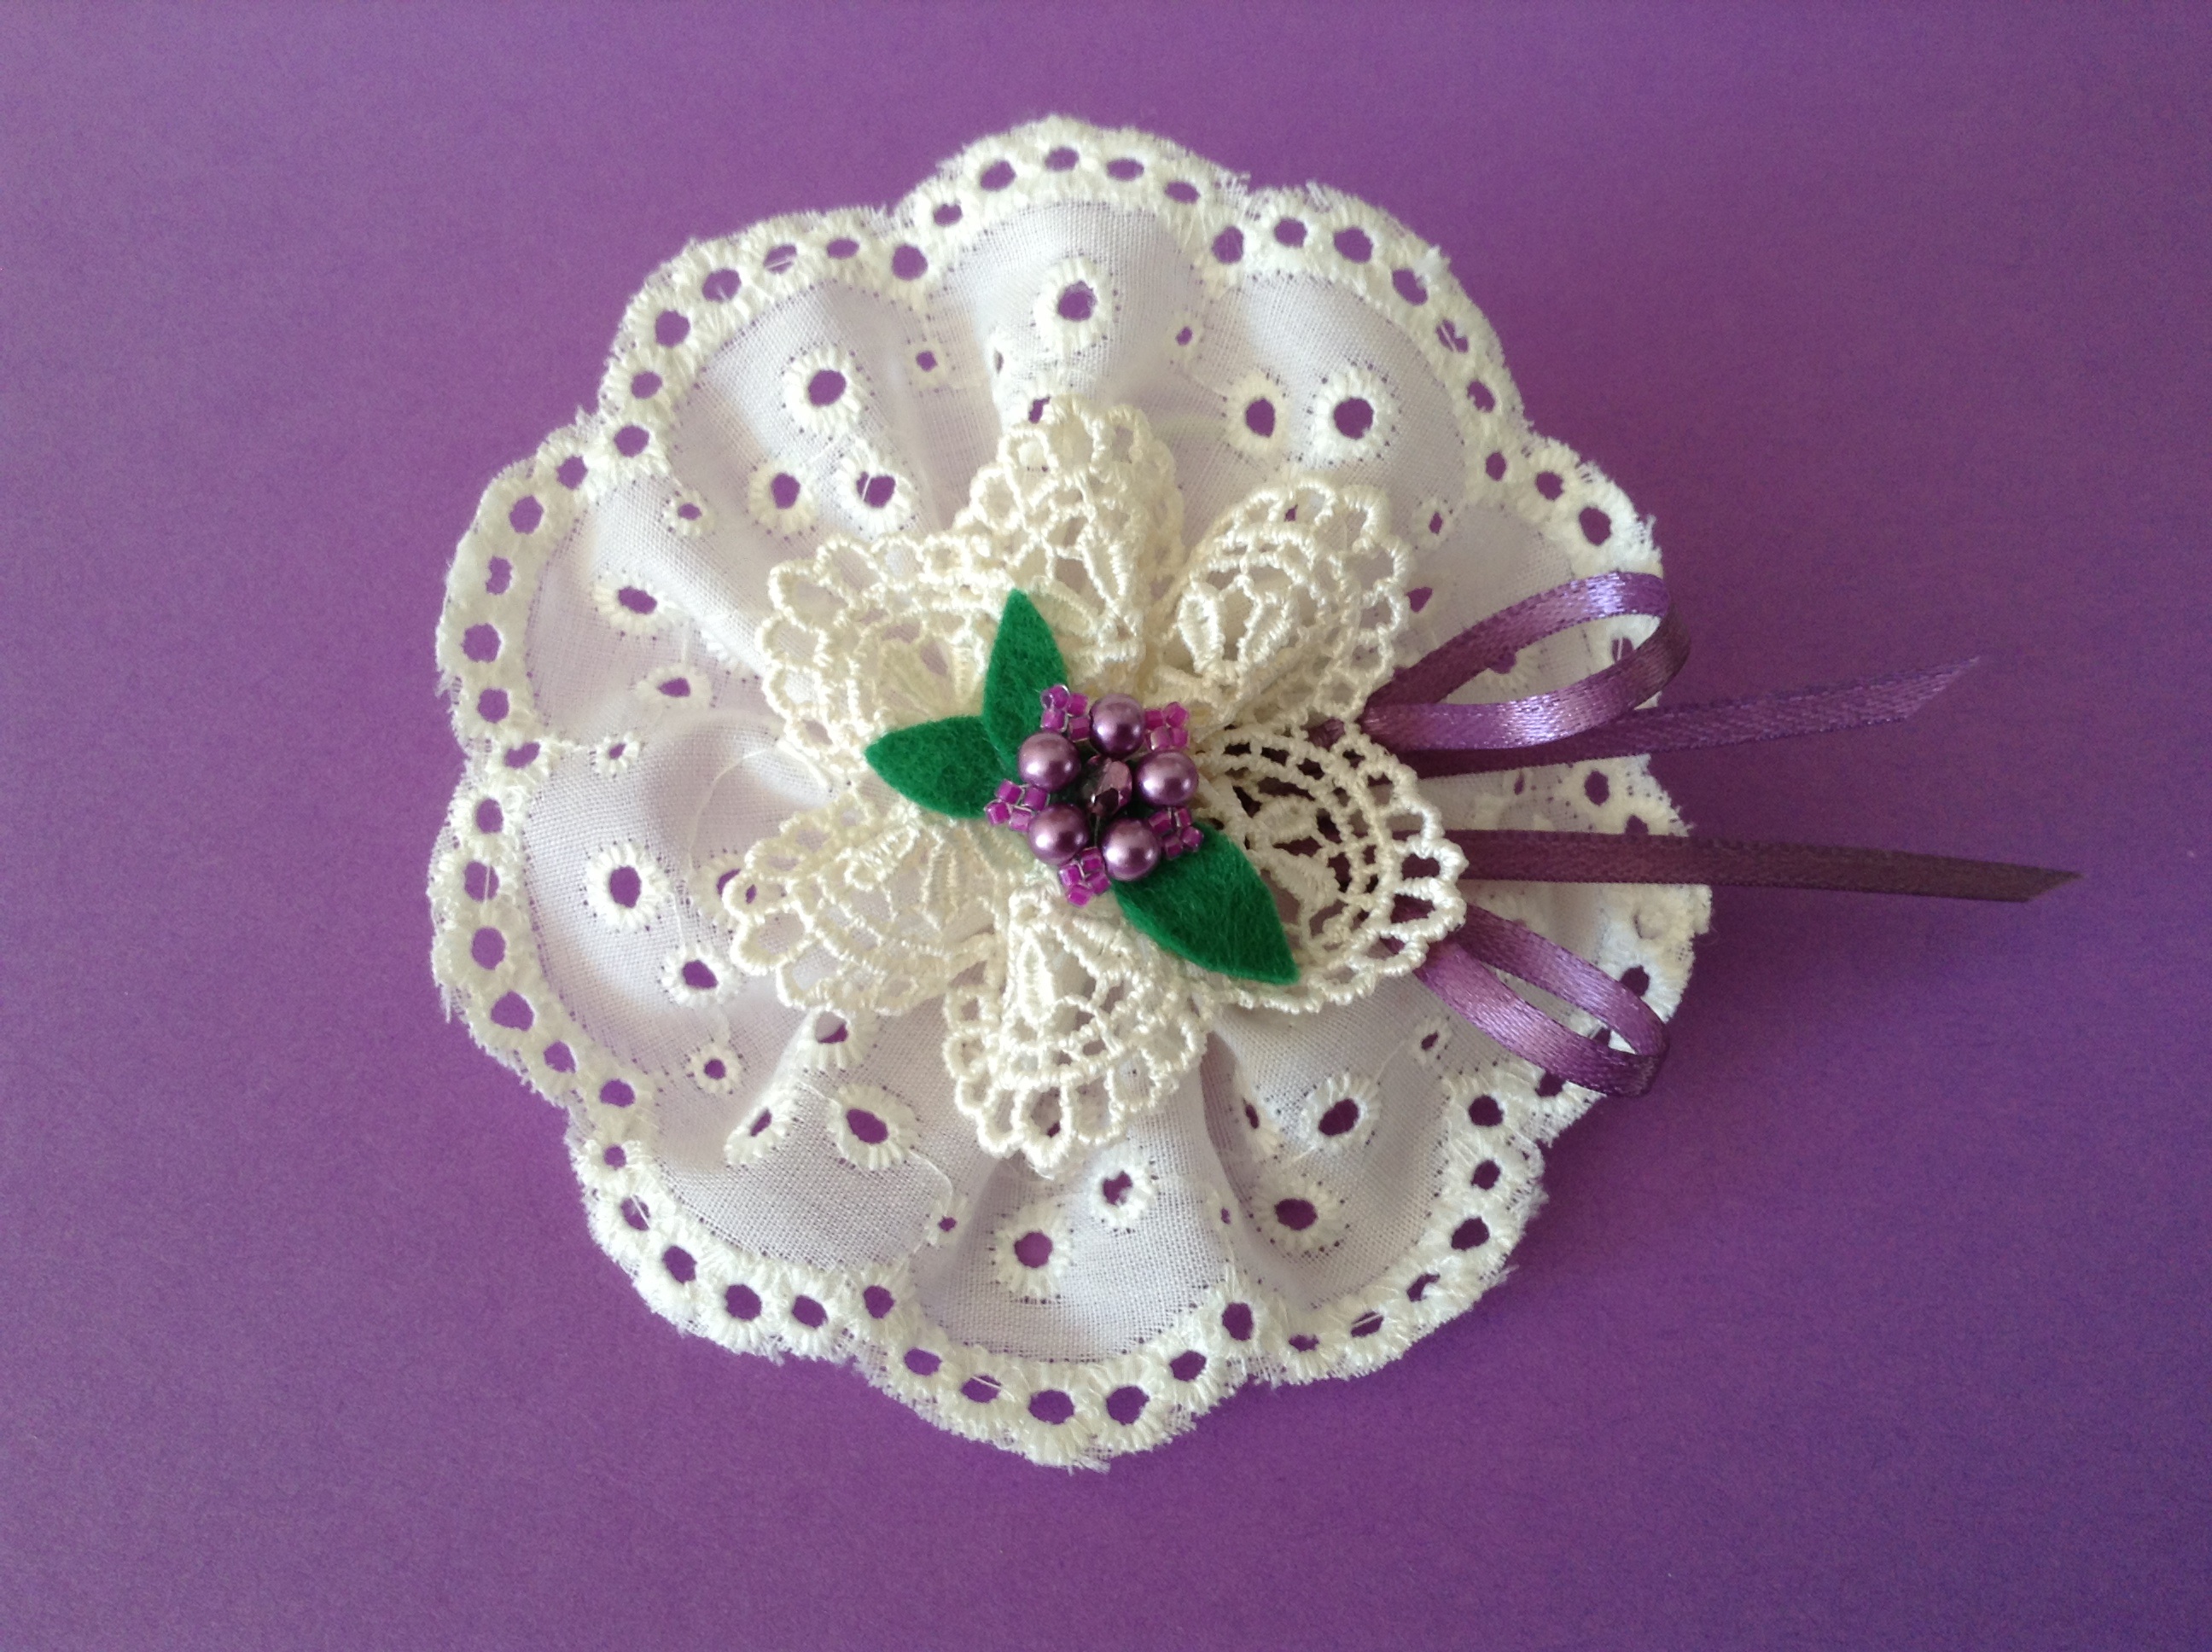
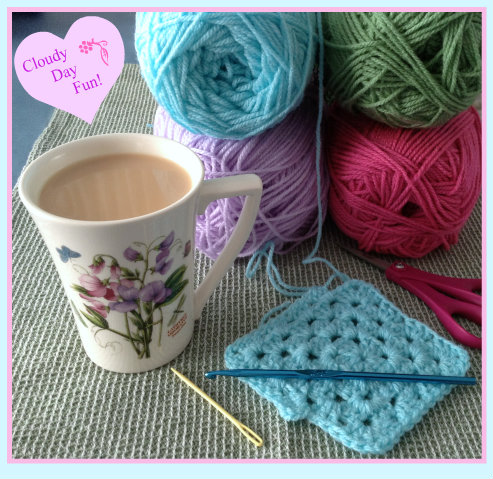
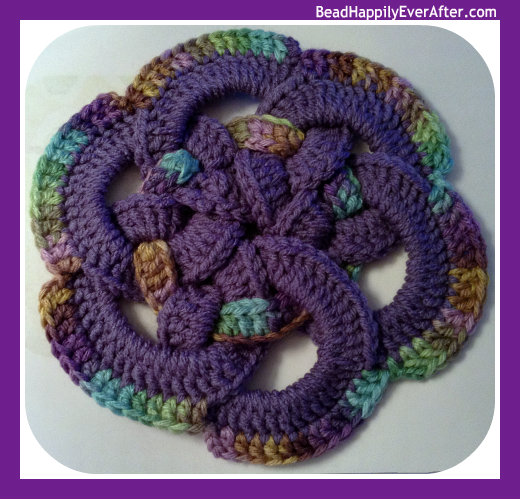
Now, if the store has items that you are particularly fond of (in my case, craft supplies!), the party factor goes up another notch.
![]()
 Recently, a new craft supplies store opened here. (Up until now, Michael’s was our only choice.)
After hearing about the new store, I started to watch the newspapers for an opening day announcement. When it arrived, I clipped a few coupons and off I went to explore. Sir Beads, sweet guy that he is, patiently came along – even though shopping for craft supplies is not very high on his list of fun things to do. He prefers a hardware store. I guess you could say that craft supplies are to Crystal as building supplies/tools are to Sir Beads.
![]()
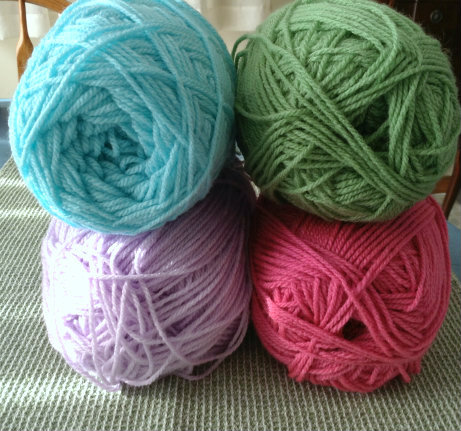
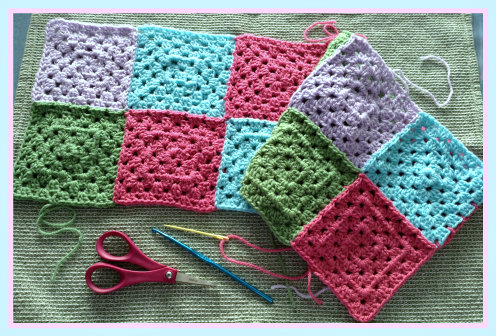
Well, I can report that the new store had an interesting selection, including things I hadn’t been able to find anywhere else! Some of them were on sale that day – so I was a happy camper!
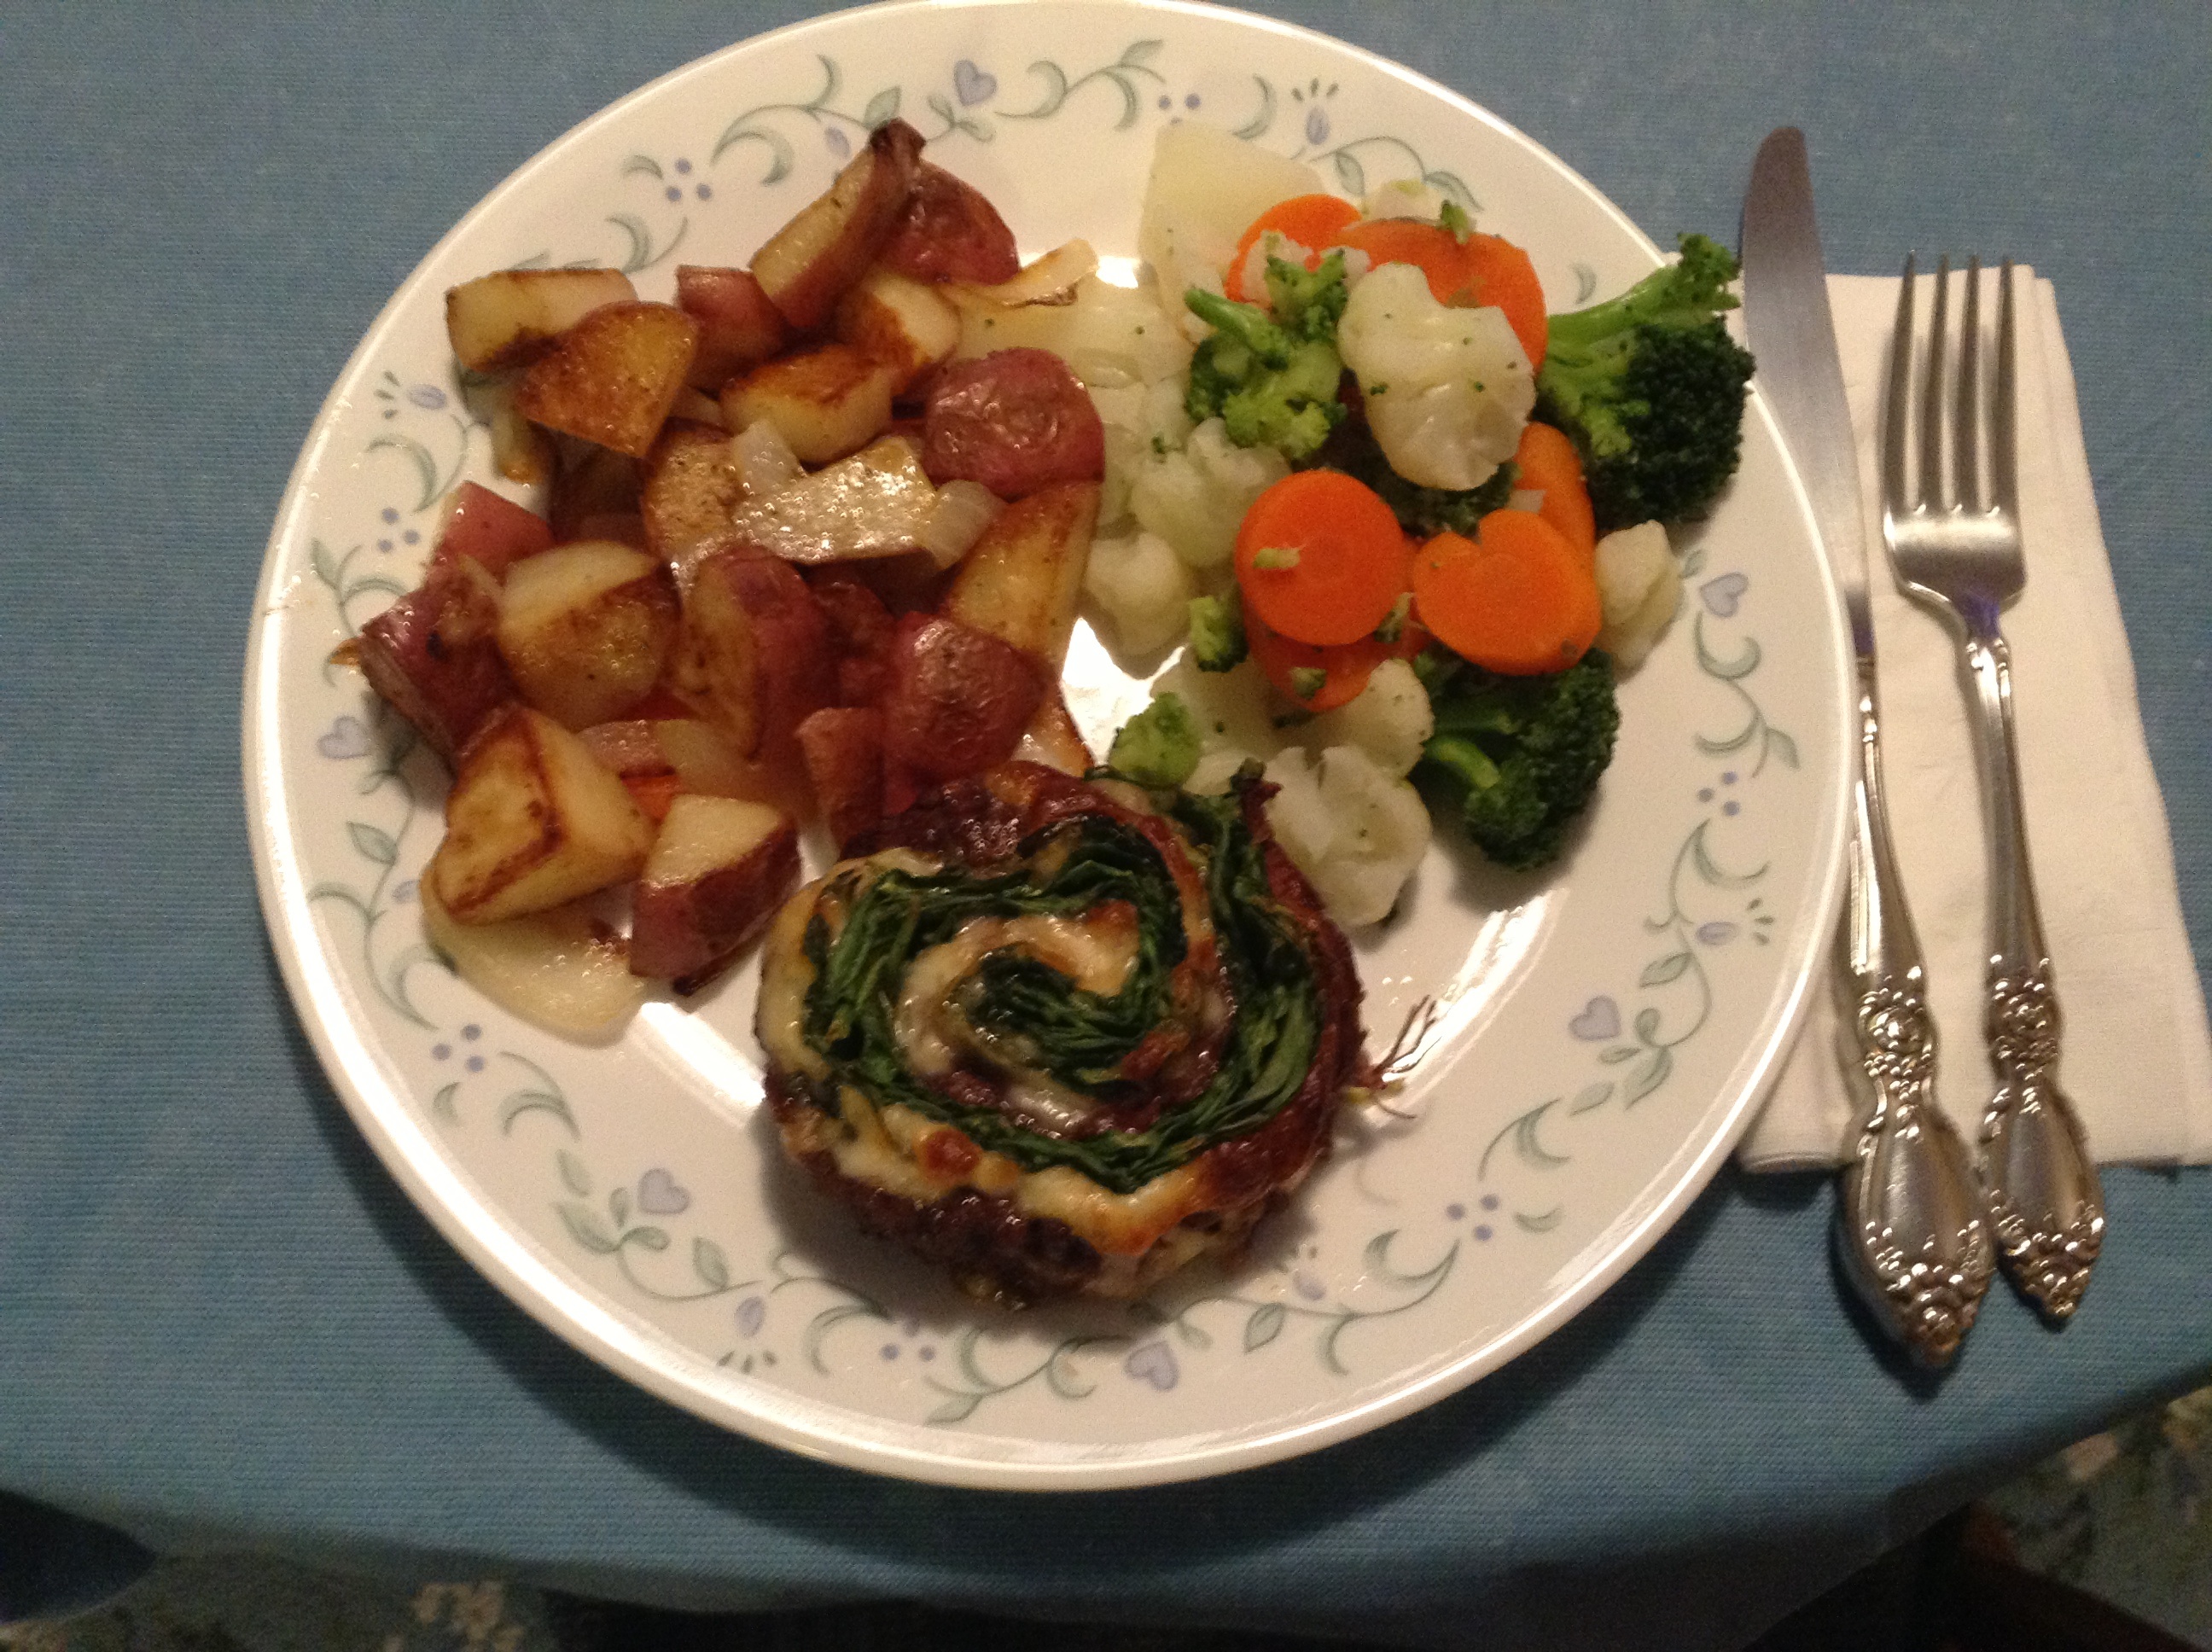
Sir Beads, however, seemed much more excited about the lunch we had afterwards. 😉
Hugs,
![]()
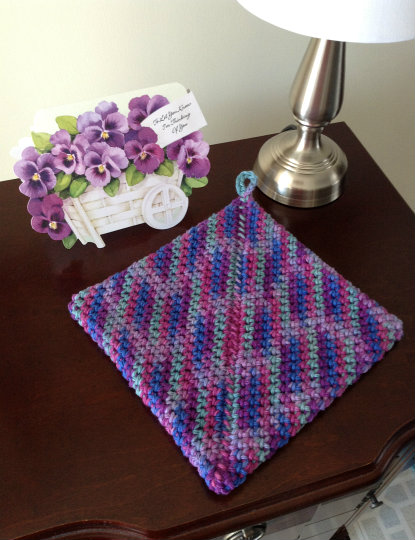
I’d love to hear your thoughts!
 Click the envelope to leave a comment or to read what the other kids are saying! 😀