Holiday Rushing – Hit Pause

Remember I mentioned that when it comes to holiday bustle, I want to take it down a notch this year?

Well, it’s going fairly well so far . . .

In fact, I can honestly say I’m hitting the old “pause button” much more often than in the past.

Sure, I still have moments when I feel nervous that Christmas is almost here . . . but suddenly it seems easier to rationalize that I’m in this for the joy – not the stress.

curlyline

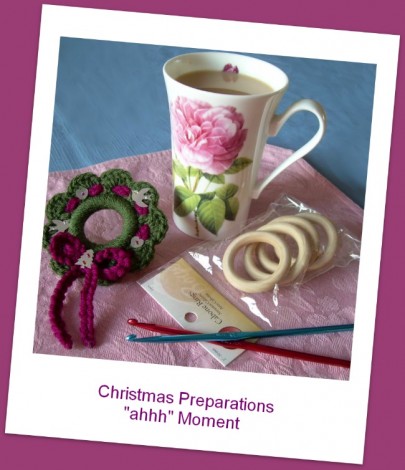
And nothing helps me take a deep relaxing breath quicker than making something! It truly is amazing how an hour of creativity can fortify me for several hours of gift shopping at the mall.

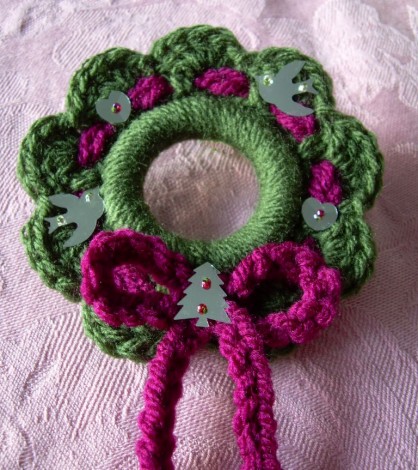
I found a couple of quick and easy ornaments to complete.

Here’s my take on Whiskers and Wool’s “Ringing in Christmas” ornament series.

curlyline

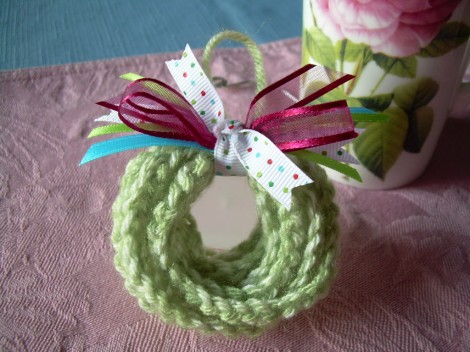
And even in the final hours before Dec. 25th, there’s time for this quickie! Simply make a long crocheted chain, gather it into into loops, and add a bow!

Cute as can be to tie to a box of candy or bottle of spirits for an easy, yet very thoughtful, gift! 🙂

Whether you are crafting little “somethings” or just pausing for a cocoa-break, I hope you’re making it a point to stop and smell those evergreens!

‘Til next time,

Hugs,
crystal-1b3-copy-flatfullwidth

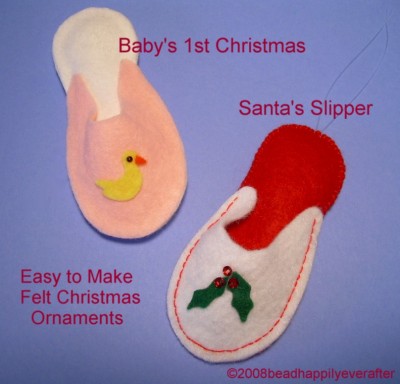
Ornaments to Make: ‘Santa’s Slipper’

The days are flying by but there’s still time to make a few Christmas ornaments – especially if they’re quick and easy!

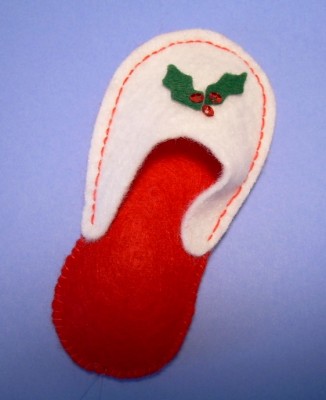
Here’s a little slipper that looks really cute on the tree, and you can even make a pink or a blue version that would be adorable for Baby’s 1st Christmas!

santasslipperb

If sewing isn’t your thing – never fear! You can use glue, instead. Make a few and use them to decorate your packages, or present one with a plate of homemade cookies. Your lucky recipient will have a wonderful handmade keepsake, and will think of you every year as it’s placed on the tree!

~ Instructions ~

Sew or Glue – it’s up to you! Both methods are given below.

Materials Needed:
1 square red felt
1 square white felt
scrap of green felt
Red sequins for “berries”
fishing line or embroidery floss for hanger
tacky glue

DIRECTIONS:

NOTE: Read through all directions before beginning.

1. Trace all patterns and cut out as directed on the pattern pieces. You’ll find full-size patterns by clicking on the “santas-slipper-pattern” link at the bottom of this post.

2. Place a line of glue around outer edges of one slipper sole – except for the area between #1 and #2 shown on the pattern piece – and then place the second slipper sole on top of the first; allow the glue to dry. If you prefer to sew: Use a whip stitch to sew the two sole pieces together – except for the area between #1 and #2 (shown on the pattern piece).

3. After the glue has dried or you have finished sewing the soles together, stuff lightly and glue or sew the opening closed.

4. Place a thin line of glue on the sole of the slipper between #3 and #4 and glue the slipper top to the sole — matching edges carefully. The top will have a rounded effect as if to fit a foot. If you prefer to sew: Use a backstitch in contrasting thread to attach the top of the slipper to the sole, matching edges carefully to create a rounded slipper top.

6. Glue holly leaves & “berries” as shown.

7. Attach a hanging loop of fishing line (or embroidery thread) to the heel end of the slipper.

For full-size pattern pieces, click the link below:

santas-slipper-pattern