 This year, many of us are trying to cut back on our Christmas spending, but maybe we’d still like to give a little something to a friend, neighbor, co-worker, holiday hostess, teacher, or the hair stylist!
Here’s a quick and easy ornament that you can make pretty inexpensively. The supplies you purchase will probably be enough to make several, so the average cost per ornament will be quite reasonable. The basic ingredient is a plain Christmas ball, but it’s the colors, textures and embellishments you select to decorate it, that will make this a very special gift!
This idea would also be perfect for those of you who like to help your kids make presents for their grandparents and teachers. The instructions are simple but the finished result can be quite elegant! Please be sure to supervise children on this and any other craft project.
Supplies Needed:
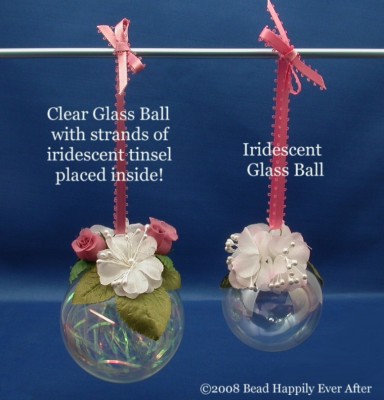
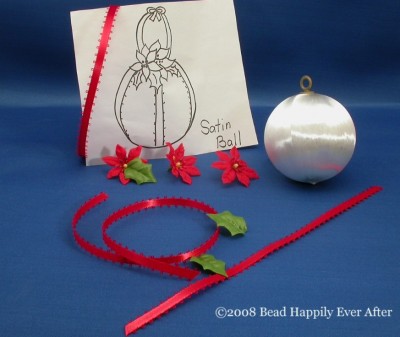
1. Christmas Balls – Either clear glass, iridescent glass, colored glass – or even the unbreakable satin ones look really lovely and are a good choice if you are working with children.
(If you are using clear glass balls, you can carefully remove the top of an ornament and poke several strands of tinsel inside for a little extra special sparkle on the tree! Use a straw or plastic coffee stirrer to arrange the tinsel, and then replace the cover.)
2. An empty egg carton to keep the balls from rolling around as you work on them and also to hold them while they’re drying!
3. Ribbon – 1/4 inch wide in your choice of colors.
Picot edge ribbon is pretty (as seen in the photo) but the plain edge ribbon will also work.4. Small clusters of silk flowers in your choice of colors, silk leaves. You can also use other tiny decorations such as mini candy canes, miniature bells, little pinecones, etc.
5. Miscellaneous: You might also like to experiment with tiny strands of seed beads, narrow lace, or decorative trim when decorating the tops of the ornaments.
6. Tacky glue is a must! Or, you can use a glue gun if an adult is operating it. (Please note that regular glue sticks and Elmer’s glue are definitely NOT strong enough for this project.)
Instructions:
1. Ribbon wrapped around the ball looks especially pretty on the satin balls.
You may decide to skip this first step if you are using the glass balls, however!Place a narrow line of glue on the first few inches of ribbon and begin to glue it to the ball starting at the top near the hanging ring – and then gradually add glue to more of the ribbon as you wrap it all the way around the ball ending at other side of the top. Glue a second piece of ribbon in the same manner but opposite the first ribbon and be sure that it’s evenly spaced on the ball.
2. Now for the fun part! Decide how you want your flowers, leaves, etc. to be arranged and then, one by one, glue them in place using a generous little dollop of glue for each piece.
3. Leave the ornaments to sit upright in the egg carton for a little while so that the glue can dry thoroughly.
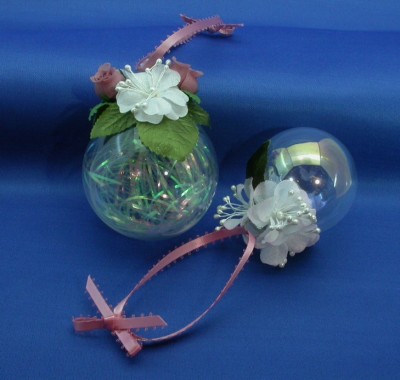
4. Finally, for a hanger – use matching ribbon and loop it through the ornament ring. Tie the ends of the ribbon in a knot, leaving enough ribbon to then make a small bow.
Finished! Isn’t it pretty?
Remember to make one for your own tree, too 😉


