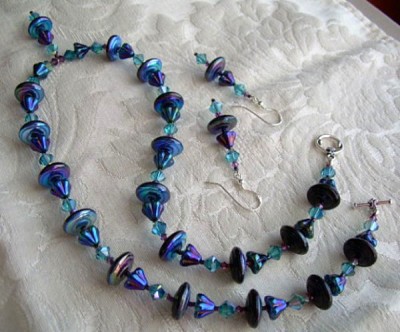
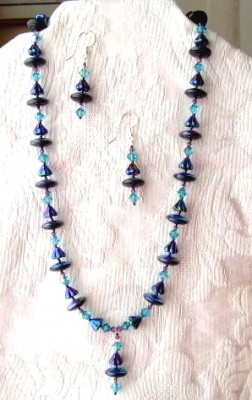
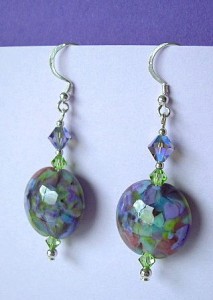
Do not adjust your set – this picture is not upside down. 😉
I had to take it at this angle to get the colors to photograph realistically!
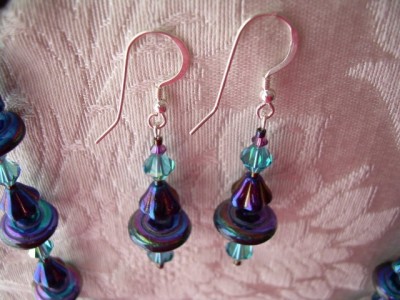
Here’s a necklace and earrings that I made for a special order. Can you see that the button-shaped beads have a swirled texture and an iridescent finish? I used a mixture of Czech and Swarovski beads, and the color scheme is a rainbow of teal, violet purple, and royal blue, along with touches of black.
Taking pictures of jewelry can be quite a challenge, especially if the piece is very reflective, or glittery, or in this case – has an aurora borealis flash on it.
From time to time, a customer will write to me, after she has received a piece of my jewelry, and say that it’s even “prettier in person”. I hesitate to write those words in a description, because I fear that it sounds like an exaggeration, but it’s often true! Most jewelry really is more beautiful when you have it in your hands. A photo just can’t capture the sparkle and 3-dimensional shape.
I do keep trying to get better photos, though! It’s comforting to read that even professional photographers struggle when it comes to pictures of jewelry. In fact, many of the very high-end jewelry stores allocate a hefty portion of their budgets to hire only the most talented photographers for their catalogues and advertisements.
Besides lots of practice, good lighting is key. Carol gave me a tip about using a plastic wastebasket for a light box, and Luciana sent this link, which describes how to make a light tent from a cardboard box! There’s also a wealth of good information on photographing your artwork in the etsy forums.
If you have any tips to share, I know we’d all love to hear them!
In the meantime, you can find me putting the camera on the tripod and practicing . . . some more!
![]() Blog Readers Discount!
Blog Readers Discount!
20% off on our website thru Feb 28th.
Enter the code “snow” at checkout.

